How to Mod Vintage Story
Mods are a great way to expand your Vintage Story server with new features, items, or world generation options. With Nodecraft, installing mods is simple and only takes a few steps. This guide will show you how to find, upload, and enable mods on your server.
Adding Mods to Your Server
Log into your Nodecraft Panel.
Stop your server before making any changes.
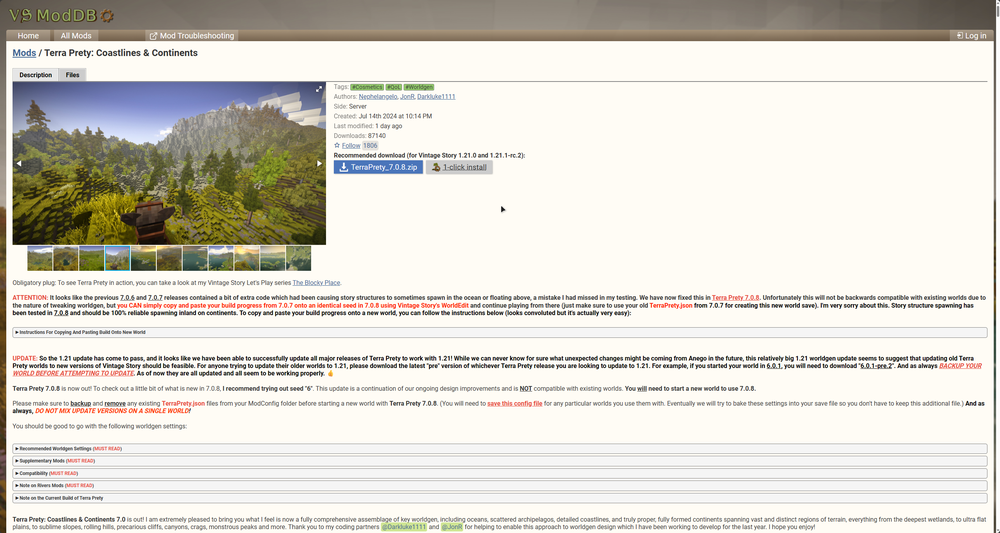
Find a mod to install.
Visit the Vintage Story Mod Database (VS ModDB).
Search for mods that match your server’s version (you can see your version in the One-Click Installer tab in the panel).
Download the
.zipfile for the mod.Keep the file zipped, do not extract it.
Upload the mod to your server.
In the panel, go to Server Files.
Open the folder:
data/ModsIf there isn’t a Mods folder, create one.
Click Upload and select your mod
.zipfile.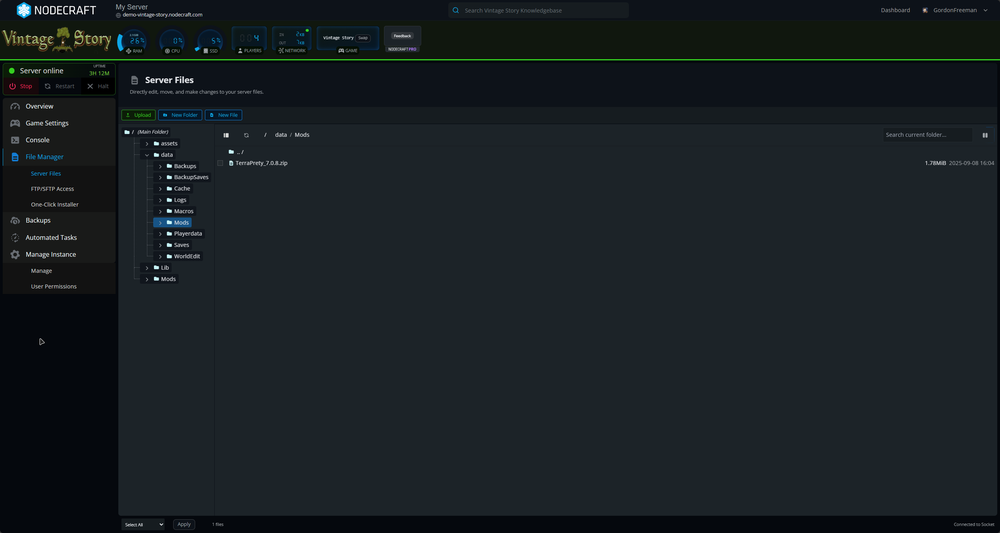
Start your server.
Click Start at the top of the panel.
When the server starts, it will load the mod automatically.
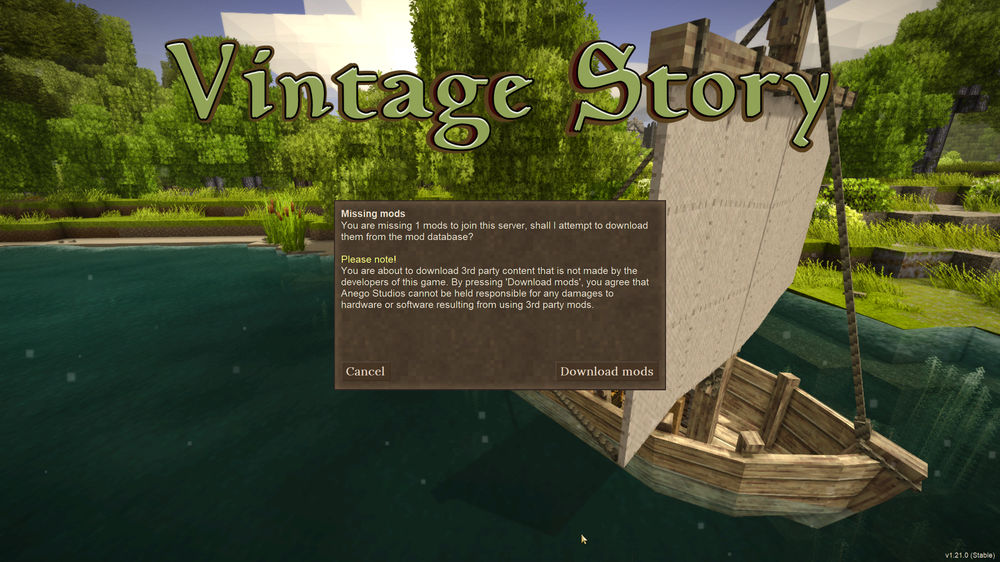
Join your server.
When players connect, Vintage Story will check for the mods.
If they are missing, the game will prompt players to download them before joining.
Conclusion
Adding mods to your Vintage Story server with Nodecraft is quick and easy. Just download the .zip file, upload it to the data/Mods folder, and restart your server. Mods will automatically download to players when they join, making setup smooth for everyone. With just a few steps, you can customize your server and enjoy new content with your community.
Need Help?
If you have questions or run into any issues, our support team is here to help! Reach out using the support widget on our website or visit our support center for further assistance.