Adding an Allowlist to Your Valheim Server
This article will guide you through the process of adding an Allowlist (Permitted list) to your Valheim server.
Edit the permittedlist.txt File
First, you must find the player ID of the player you want to add to the permit. There are two places where you can easily find this. One will be in your server's Console. When a player joins the server, you will see two lines that will provide their ID.

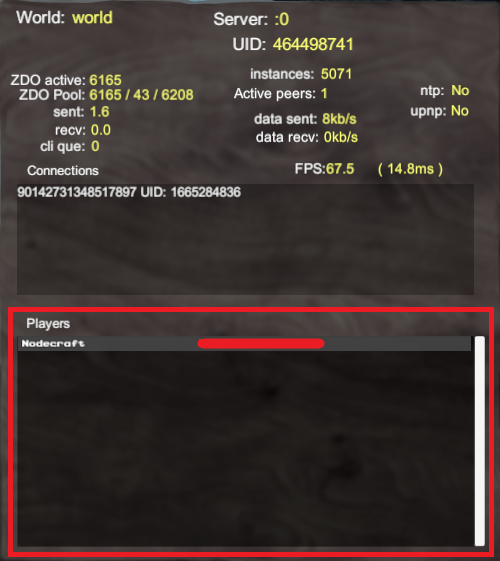
You can also get their ID in-game by pressing the F2 key on your keyboard. In the lower section "Players", you will see their in-game name and their player ID, which we have crossed out in the screenshot.
Now you'll need to add that number to the permittedlist.txt file located in /.config/unity3d/IronGate/Valheim of "Server Files" in Nodecraft Pro.


Remember to Save your changes and Restart your server.
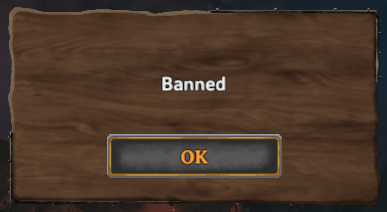
When a player not on the list tries to join the server, they will see in their game client the following message:
Need Help?
If you have questions or run into any issues, our support team is here to help! Reach out using the support widget on our website or visit our support center for further assistance.