How to Configure Your The Isle Server
Want to change some settings for your The Isle server? In this guide will be showing you how to configure the settings for your The Isle server. In these settings you can change the Server Name, Map Name, Add Admins and many other settings for your The Isle server.
Configuring your Server Settings
Note: Be sure that your The Isle server is fully stopped before making any configuration changes or setting updates!
Navigate to your control panel for your The Isle server hosted by Nodecraft.
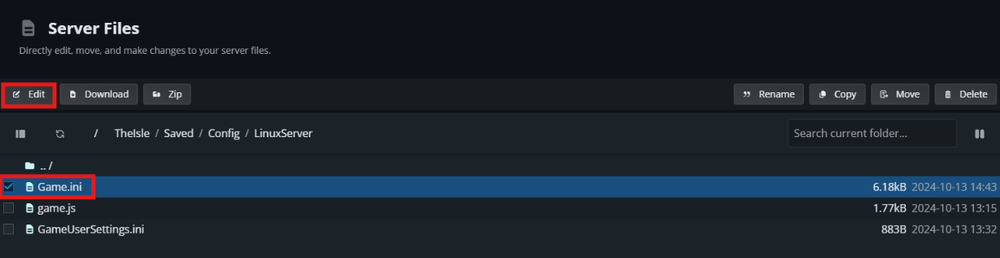
Locate the Server Files section on the left side.
Go to the following directory: /TheIsle/Saved/Config/LinuxServer
Click on the box to the left of the Game.ini file.
Click Edit.
Make your desired changes.
Click Save.
Start your The Isle server.
Server Setting Options
| Name | Key | Default Value | Description |
|---|---|---|---|
| Map Name | map_name | "Gateway" | Controls the current map of the server. |
| Max Player Count | max_players | **Changes per purchased plan. | Controls the number of players that can connect to your server. Accepted values are integers equal to or less than the maximum purchased plan amount. |
| Server Name | public_name | “Server Name” | Controls the name of your server. Any values are accepted. |
| Admin Steam Ids | admin_steam_id | N/A | Sets an Administrator for the server based on their Steam64ID. |
| RCON Password | rcon_password | N/A | Assigns an RCON password to your server. Any value is accepted. |
Need Help?
If you have questions or run into any issues, our support team is here to help! Reach out using the support widget on our website or visit our support center for further assistance.