How to Add Workshop Mods to your Arma Reforger Server
Arma Reforger’s modding community delivers everything from immersive roleplay overhauls to quality-of-life improvements and high-intensity scenarios—all accessible right from the main menu. Server-side mod setup is quick and streamlined, with built-in support for dependencies and one-click JSON exports. If you’re looking to install custom scenarios, check out our dedicated Scenario Setup Guide.
Note: Always stop your Arma Reforger server before making changes. If the server is online, any changes made will not take effect.
Locating Mods
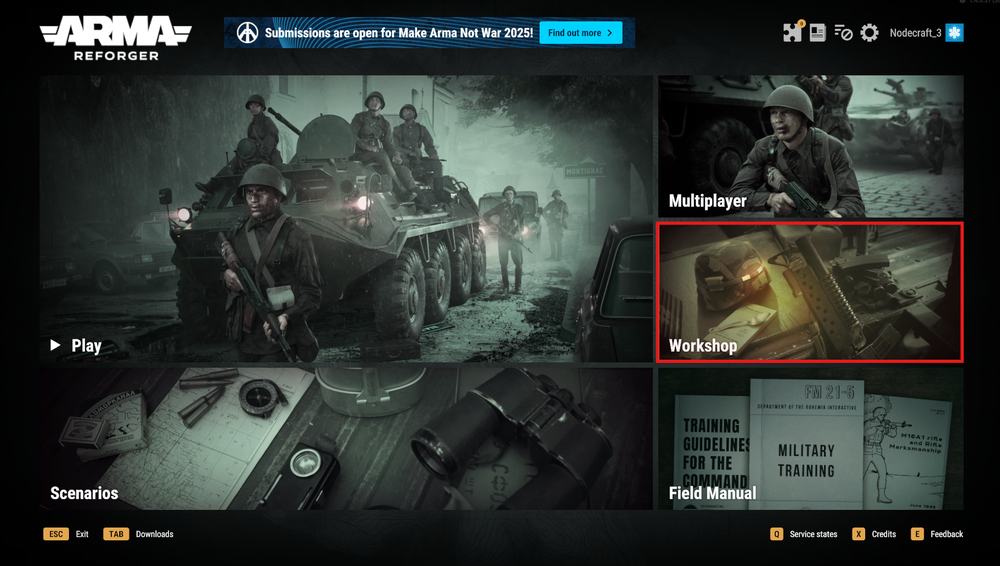
Launch Arma Reforger.
Locate the Workshop tab.
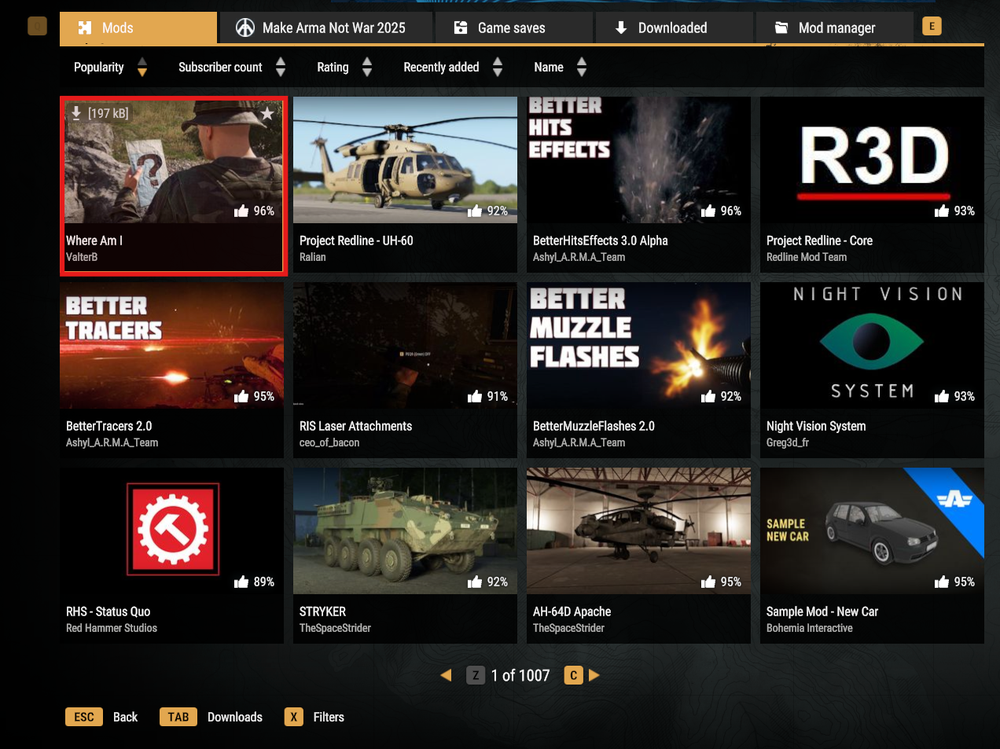
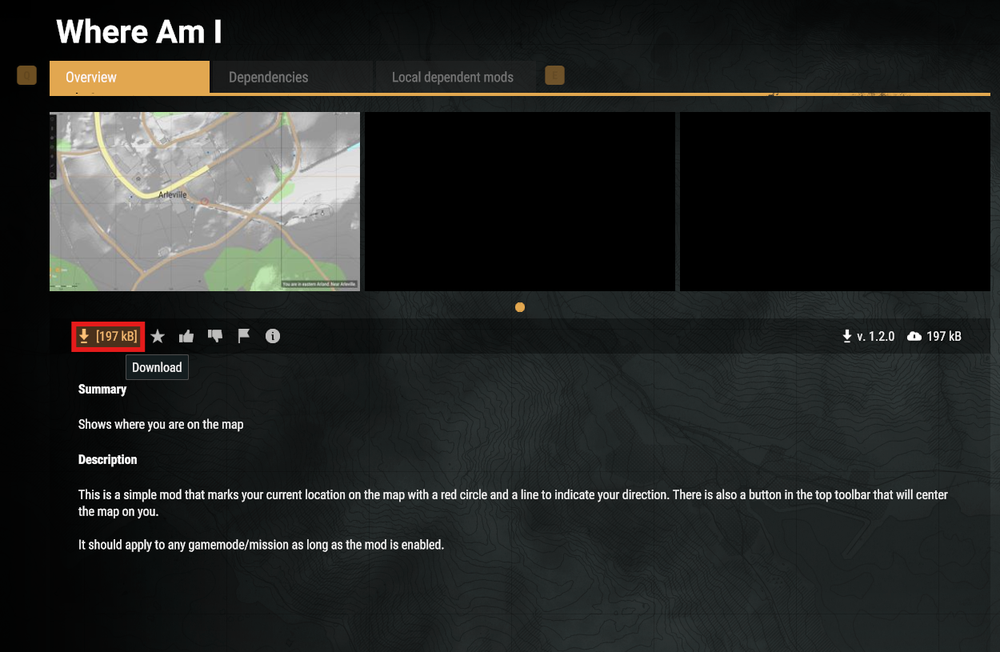
3. Select the mod you want to install, including any required dependencies.
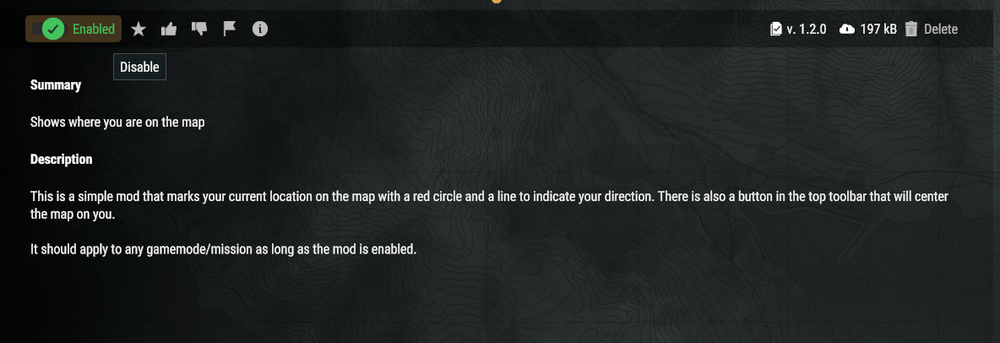
4. Once installed, click the Puzzle Icon in the top-right corner.
5. Navigate to the JSON tab.
6. Click Copy to Clipboard to grab the full mod list in JSON format.

Adding Mods
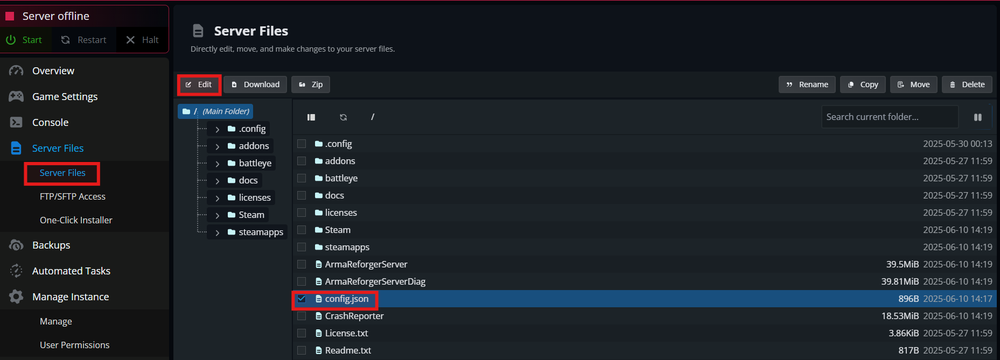
Open your Arma Reforger instance panel.
Navigate to Server Files and open
config.json.Click Edit.
4. Locate the "mods": [] section.
5. Add a new line after the first opening [ bracket.

6. Paste the JSON array you copied from the Workshop.

Note: If you're adding multiple mods, make sure to separate each block with a comma ,, except for the last one.
7. Select Save.
8. Start your Arma Reforger server.
Troubleshooting
If mods aren’t loading properly:
Confirm the server was offline when you edited the config.
Double-check the formatting inside the
"mods"section.Verify all required mod IDs, names, and versions were included correctly.
Need Help?
If you have questions or run into any issues, our support team is here to help! Reach out using the support widget on our website or visit our support center for further assistance.