How to Create a Pixelmon Server
Creating your own Pixelmon server is the first step toward building a custom world where you and your friends can catch, train, and battle Pokémon together. This guide will walk you through the entire setup process. Whether you’re new to hosting or just want a quick and easy start, we’ll make sure you’re up and running with Pixelmon in just a few clicks.
Navigate to https://nodecraft.com/landing/pixelmon and click Get Started.
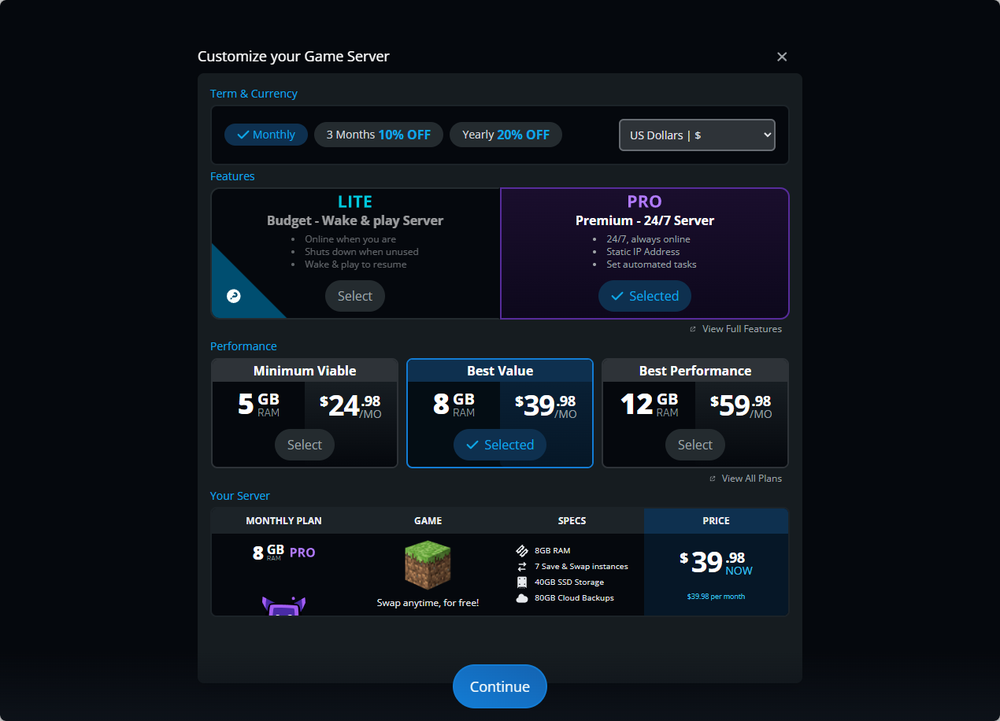
Choose the features and RAM you would like to have for the server.
Note: The minimum RAM recommended for Pixelmon is 5GB.
Click Continue and you will be redirected to your cart to complete checkout.
If you already have a Nodecraft account, you can log into that by clicking Login. If not, fill out the information under Register to create one.
After logging in, you will be presented with a number of powerups that are available to purchase alongside the server.
Once you’ve made your final selections, click Checkout. From here, you’ll enter in your payment information and complete your purchase.
To get your server set up with Minecraft, click Start Server Setup.
Enter Minecraft into the search box. The results will update automatically as you type.
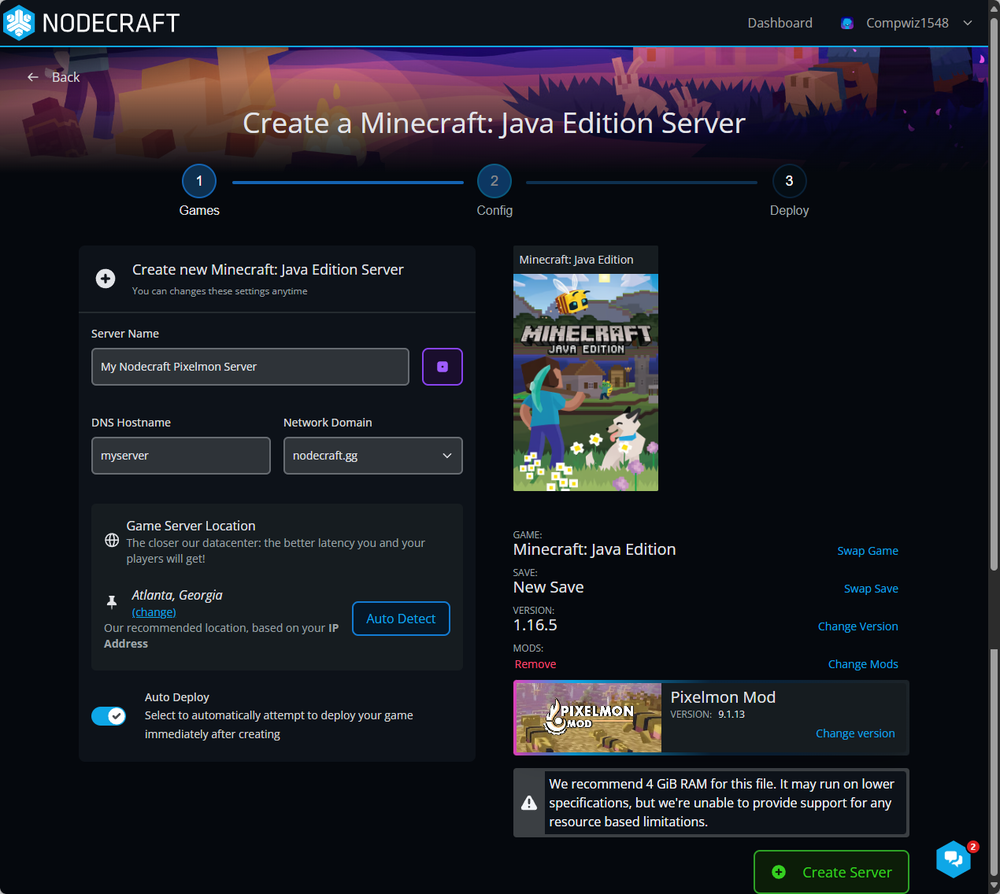
Click on Minecraft and then choose Minecraft: Java Edition.
Click New Save to generate a blank server that we can install Pixelmon to.
Enter in a name for your server in the Server Name box.
Note: This can be anything you like! It will automatically be set as your server’s domain, which is how players will connect to the server. This can also be edited so they are different.
The location for your server is automatically selected based on the location of your IP address.
Note: This may not always be the best choice, however. For the best performance, choose a location that is central to you and the other players that will be connecting.
On the right side, click Change Mods. Enter Pixelmon into the search box and click on it.
Click Auto Deploy to turn it on, then click Create Server.
Click the Select button on the bot you want the server to be installed on and the dashboard will begin setting everything up.
Your server setup is now complete! Go ahead and start your server and you’re all set to connect!
Need Help?
If you have questions or run into any issues, our support team is here to help! Reach out using the support widget on our website or visit our support center for further assistance.