How to Install and Play FTB Skies 2 on Your Minecraft Server
FTB: Skies 2 drops you into a world where the ground is mostly a rumor and the sky is the only place that feels safe. It keeps the charm of the original pack but adds new twists, better progression, and enough automation options to make you forget you ever needed dirt. Whether you’re building floating factories or just trying not to fall into the void, this pack gives you plenty to tinker with as you work your way from basic sky survival to full-on high-tech madness. This guide will walk you through how to set up and play FTB Skies 2 on your own Minecraft server, along with how to install it on your client so you can jump right in.
Installing the Modpack on Your Server
Note: Be sure that your Minecraft server is fully stopped before installing a modpack.
Using the One-Click Installer
Navigate to your Nodecraft Dashboard.
Click the Panel button for your Minecraft server.
Locate and click Installer, under Server Files, in the menu on the left side.
Enter FTB: Skies 2 in the Search box. The results will update automatically as you type. This is the modpack you’re looking for:

In the Selected to be Installed box, choose the desired version of the modpack you want to install.
For the Install Method, choose between Archive and Fresh Install, then click Install at the bottom.
Once the installation is complete, start your server. Once the server is online, you’re ready to join!
Manually Uploading the Server Files
Navigate to the webpage for FTB Skies 2: https://www.feed-the-beast.com/modpacks/129-ftb-skies-2
Click the Versions tab and scroll down to Server Files.
Click on the operating system that your computer runs and the installer for the modpack will be downloaded.
Save the file somewhere you can easily access, such as your Downloads folder or desktop.
Run the installer and follow the prompts to download the files necessary for the modpack.
Zip up all the files so they can more easily be uploaded to your server.
Navigate to your Nodecraft Dashboard.
Click the Panel button for your Minecraft server.
Note: If you want to save any of the files already on your Minecraft server, now would be the time to make a backup. You can find our guide for this here.
Locate and click Server Files in the menu on the left side.
Choose Select All at the bottom, then click Apply to select all the files.
Click Delete at the top, then Permanently Delete.
Now that your server is empty, click Upload at the top, then drag the zip file from your computer into the server.
Note: Wait until the upload is complete before closing the popup.
Once uploaded, click on the zip file, then click Unzip at the top, and click Extract.
Connecting to the Server
Download and install the FTB launcher. You can find this here: https://feed-the-beast.com/ftb-app
Once installed, you’ll need to add your Microsoft account. Click the Steve head in the bottom left corner, then click + Add Minecraft Account.
Follow the prompts to log into the Microsoft account where you own Minecraft.
After logging in, return to the FTB launcher and click Browse on the left side.
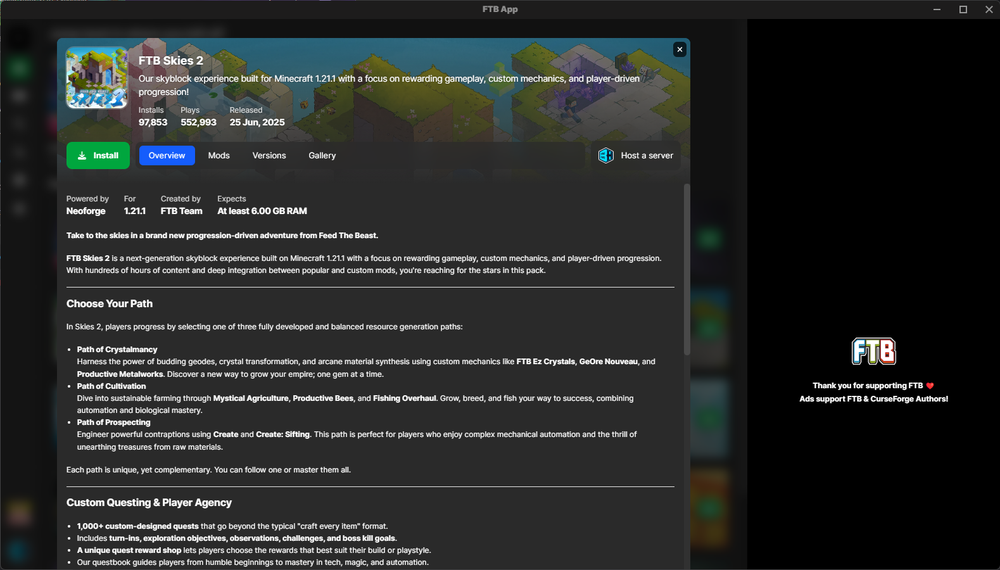
Enter FTB Skies 2 in the search bar at the top. This is the modpack you’re looking for:
Click Install and the FTB launcher will begin downloading and installing the necessary files.
Once it’s done, click Play and the launcher will open Minecraft with FTB Skies 2 installed!
After a few minutes, you’ll get to the main screen.
From here, click Multiplayer and you’ll be presented with the Minecraft multiplayer menu. Click Add Server at the bottom.
Enter in a name for your server (this will only be used to distinguish the server in your Multiplayer list) and the Server Address (this can either be your server’s domain or IP address) and then click Done.
This will add the server to the list of servers. Click on the server, then click the Join Server button to connect!
Need Help?
If you have questions or run into any issues, our support team is here to help! Reach out using the support widget on our website or visit our support center for further assistance.