How to Use a Database with Your Nodecraft Game Server
This guide will walk you through the process of using a database on your game server including, creating, deleting, importing/exporting and accessing the database with PHPMyAdmin.
MySQL databases are a great and efficient way to store and access data typically from various plugins/mods/addons. Databases are also useful with games that support multiple servers to create a network allowing you to sync information between them.
Note: Not all games support databases and the option may not be available in your panel.
Creating a database
Open your Nodecraft Dashboard
Click on “Panel”
Note: If you are on a Lite server you may need to wake it first before the panel option is available.
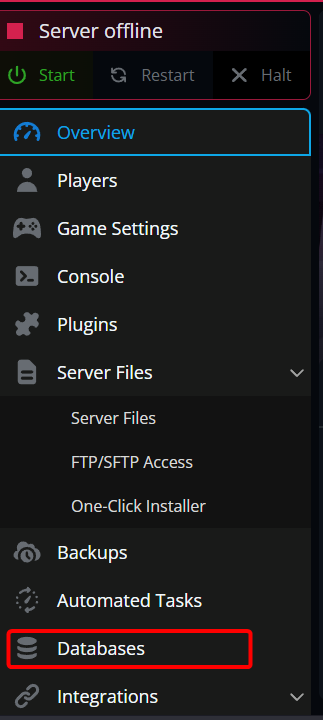
Once on your panel, locate the “Databases” menu located on your sidebar.
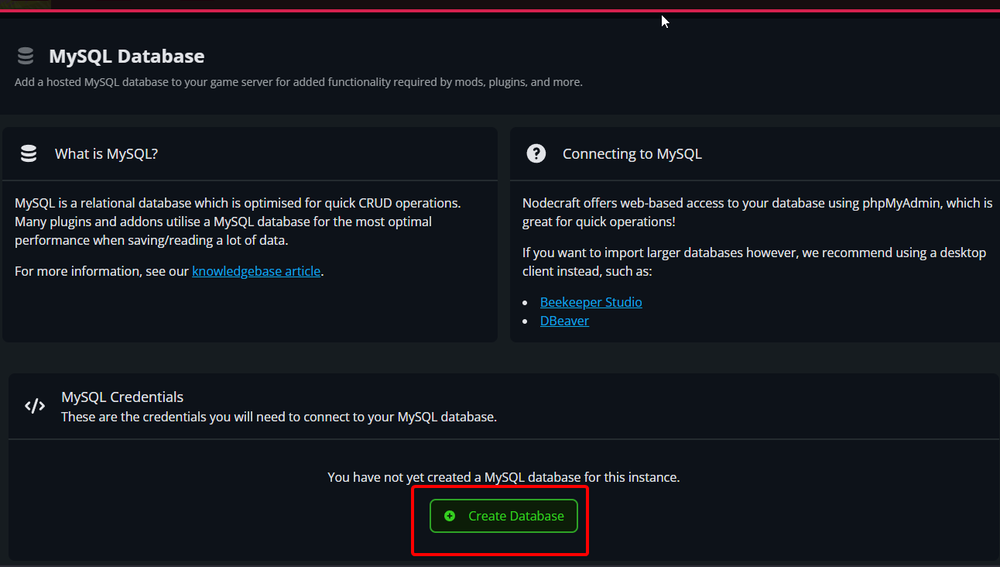
From the MySQL page click the “Create Database” button which is located near the middle of your screen.
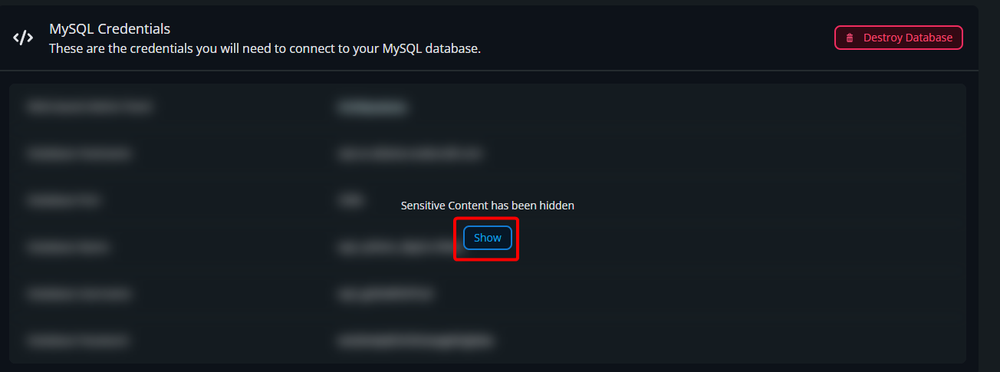
Once created, the information is hidden by default but can be shown by clicking the “Show” button. This is the information that you would use to configure your plugins/mods/addons to connect to your database. This data should be protected and not shared as it could compromise your database.
You have now added a MySQL database to your server. While you can only create a single database per server you are able to use the same database for plugins/mods/addons.
Removing a database
Open your Nodecraft Dashboard
Click on “Panel”
Note: If you are on a Lite server you may need to wake it first before the panel option is available.
Once on your panel, locate the “Databases” menu located on your sidebar.
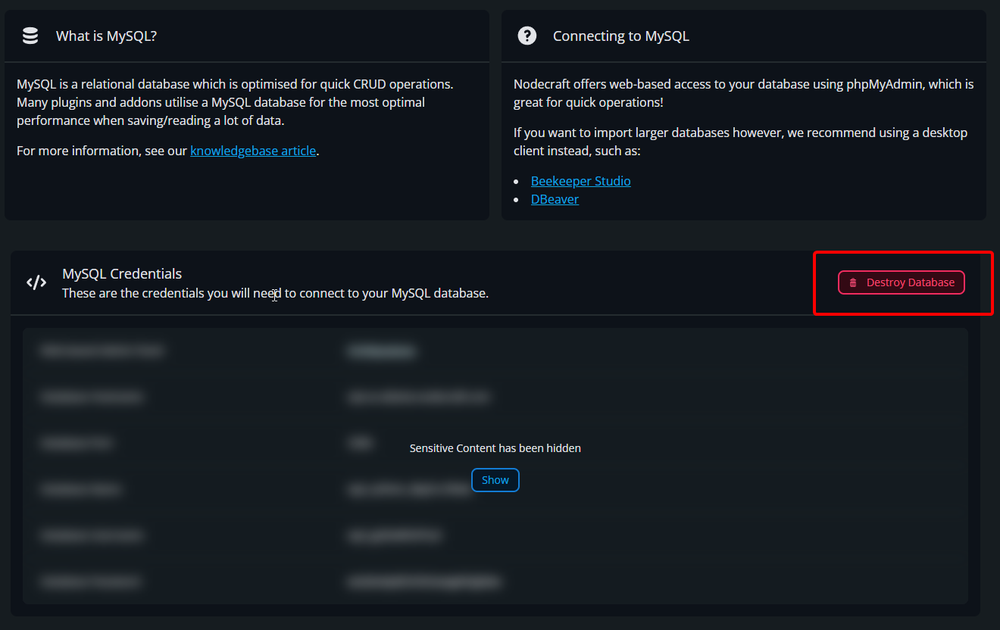
Once on the MySQL page click the “Destroy Database” button. You will be asked to confirm the action as it cannot be undone.
Note: If you want to retain any data before deleting the database you can export your data using PHPMyAdmin
Accessing PHPMyAdmin
Access PHPMyAdmin by going to your Nodecraft Dashboard and clicking
Once on your panel, locate the “Databases” menu located on your sidebar.
Once on the Database page you will see a message that says “Sensitive Content has been hidden”, you will need to unhide that by clicking on “Show”.
Once revealed, you will see a direct link to PHPMyAdmin and your login details.
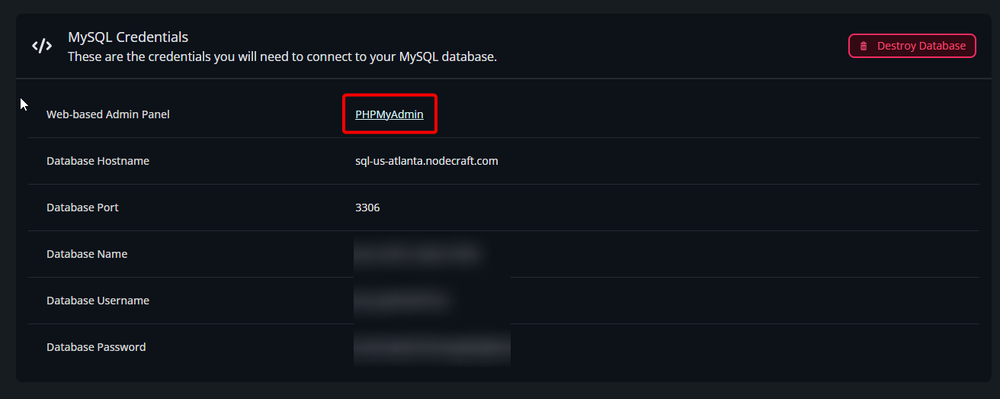
On the PHPMyAdmin page you will be asked to enter your Username and password which is listed on the details provided on the database page where you clicked on the PHPMyAdmin link.
You have now accessed PHPMyAdmin. You will now be able to add, edit or remove data from your database. You will also be able to export or import data. If you are planning to make changes to existing data in your database, it is recommended you have a recent export of your database and proceed with caution as irreversible damage could occur causing data loss or loss of the entire database if there is no backup of your data.
Exporting a Database
Access PHPMyAdmin and login.
Once logged into PHPMyAdmin, you should be at its initial landing page that looks like this.
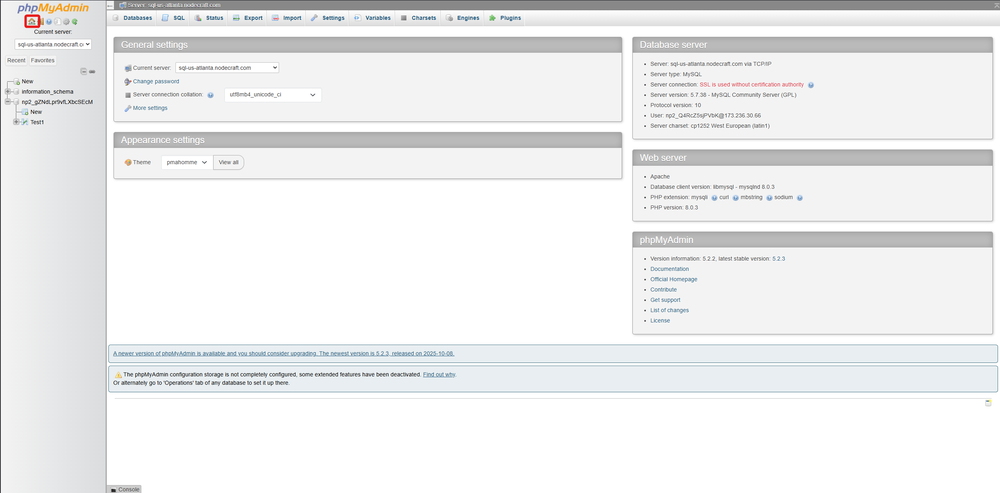
Note: If you are on a screen that looks different, click the home button in the top left corner to return to this page.
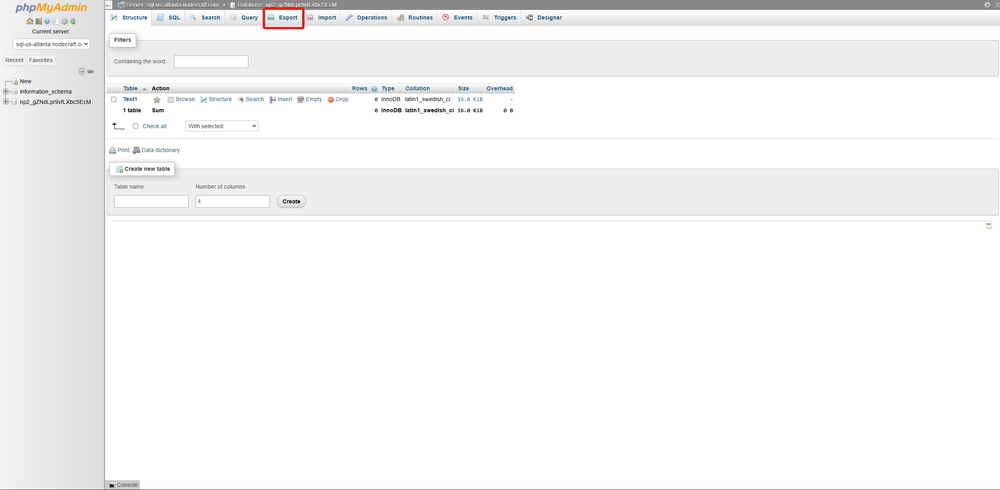
From here, select your database from the left hand sidebar.. The name should be a random string that matches the name listed under your database information from your panels database page.
Once on your database, select “Export”.
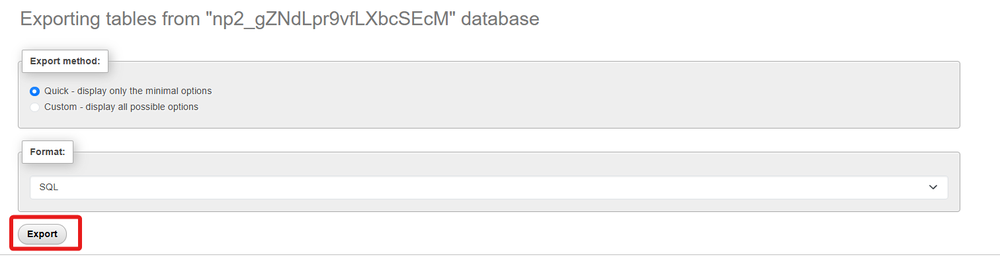
For “Export method” Select Quick and for “Format” in most cases you will want “SQL”. Once selected, click “Export” and the SQL file will automatically start downloading. Depending on the size of your database this may take a few minutes to complete.
Importing a Database using a SQL file
Access PHPMyAdmin and login.
Once logged into PHPMyAdmin, you should be at its initial landing page that looks like this.
Note: If you are on a screen that looks different, click the home button in the top left corner to return to this page.
From here, select your database from the left-hand sidebar. The name should be a random string that matches the name listed under your database information from your panels database page.
Once you have selected your database, click on the “Import” tab.

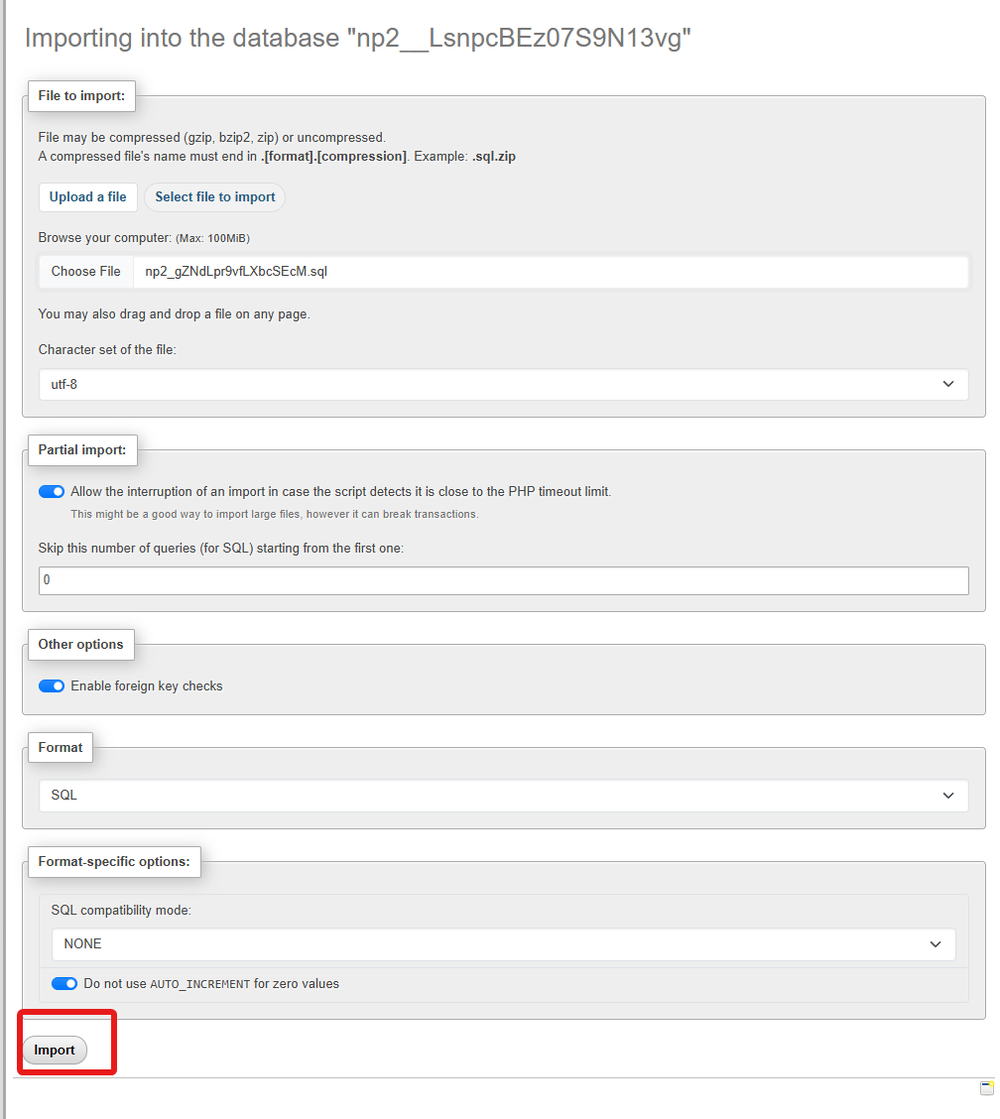
Once on the import tab there will be a lot of options however you should only need to focus on the “File to import” section and all other values can likely remain their default values.
Click on “Choose File” and select your SQL file.

Once you have selected your file click on the “import” button near the bottom left of the screen. Depending on the size of your database this could take a few minutes to complete.
Assuming all was successful you will see a lot of text in different boxes with a message at the top that says “Import has been successfully finished“. If you encounter any errors with the importing process and it is not finishing successfully, please reach out to support for further assistance.
Need Help?
If you have questions or run into any issues, our support team is here to help! Reach out using the support widget on our website or visit our support center for further assistance.