How to Use the Modrinth Launcher
This guide walks you through using the Modrinth Launcher including signing into your Microsoft account, installing a modpack, creating custom instances, Importing/Exporting instances and changing common settings.
Downloading and logging in to Minecraft/Microsoft
Download and install the Modrinth launcher as normal for your respective platform here.
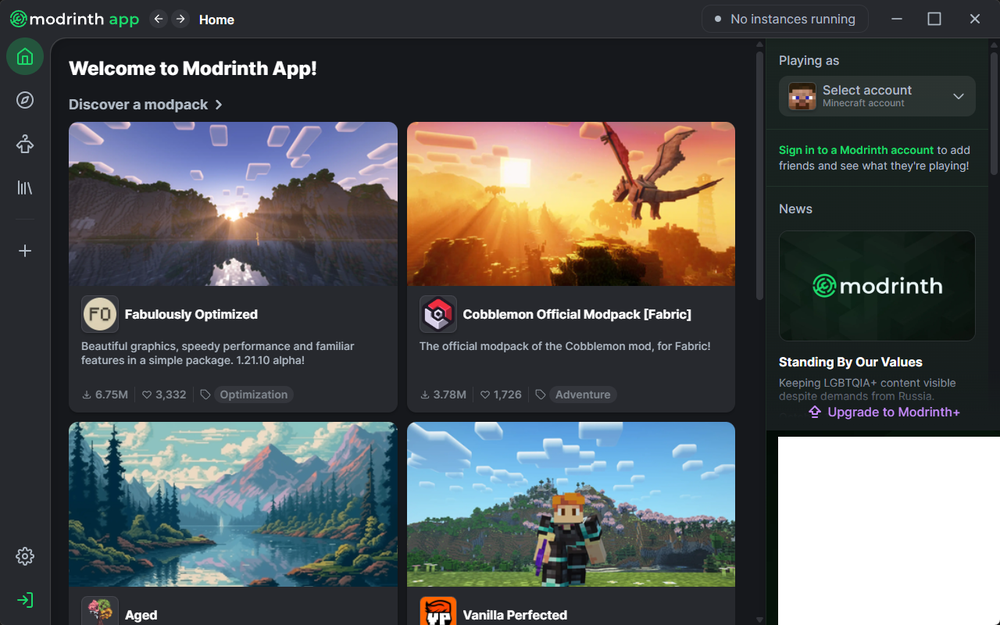
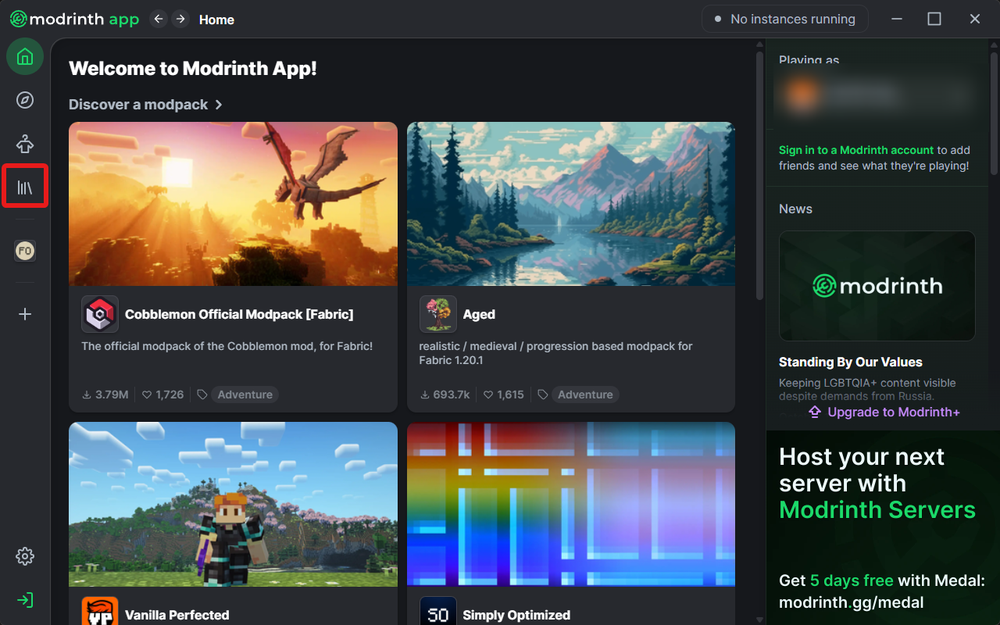
Once installed, open the launcher and you will be greeted with a home screen that looks like this.
First thing you need to sign into your Microsoft account. To do that, click on the “Select account” menu in the upper right corner. You’ll get a drop down that says you are not signed in. Click on the green box to open the login prompt and use your Microsoft login.

Once the login is successful you should see your username appear in the account box.
Installing a modpack
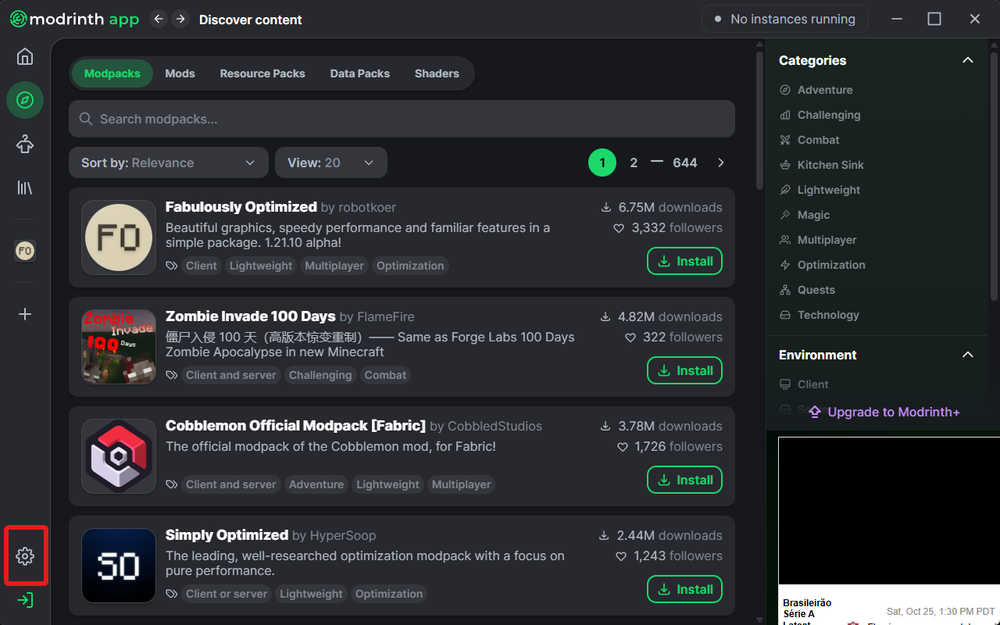
Once the launcher is opened click on the compass icon located on the left-hand sidebar.
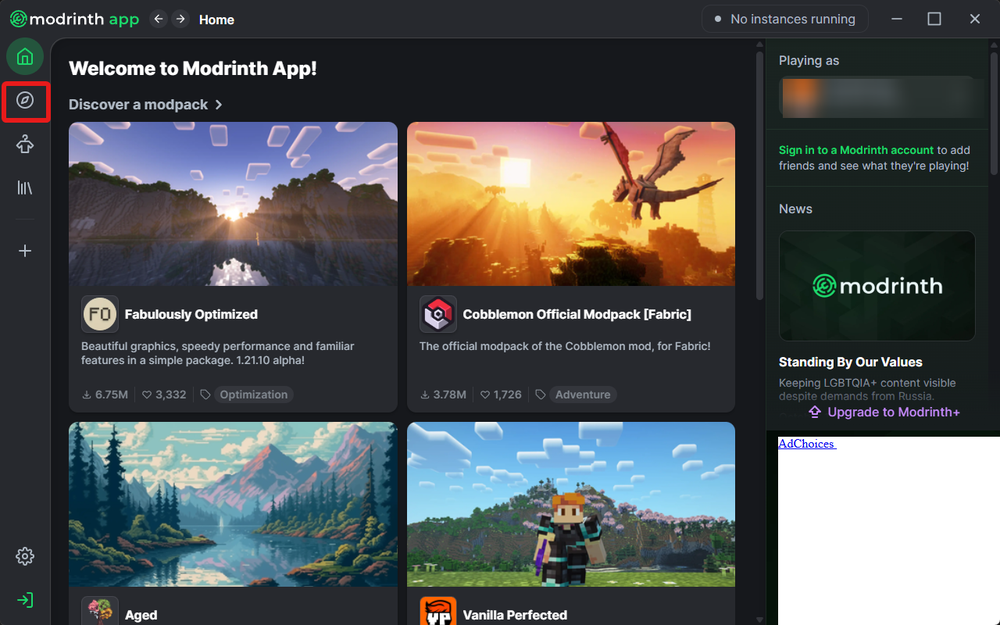
Once on the discover page you will see a full list of all the modpacks available. By default, you will see some of the more popular modpack on Modrinth.
When you find a modpack you'd like to install, simply click on the “Install” button.
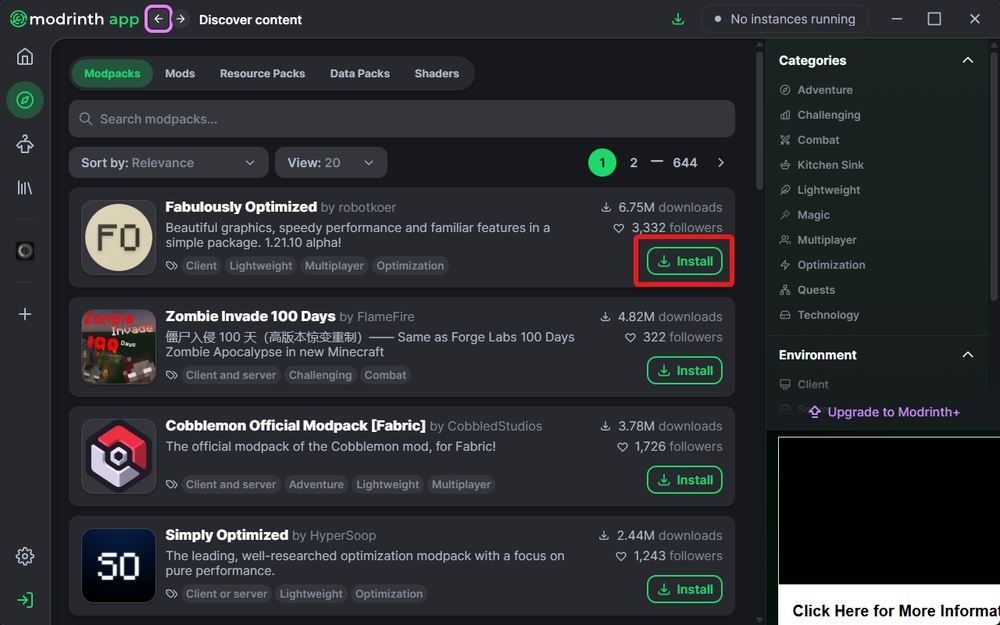
The modpack will immediately start the installation process and once completed automatically open its page where you can click “Play” to start the modpack.
How to remove an instance
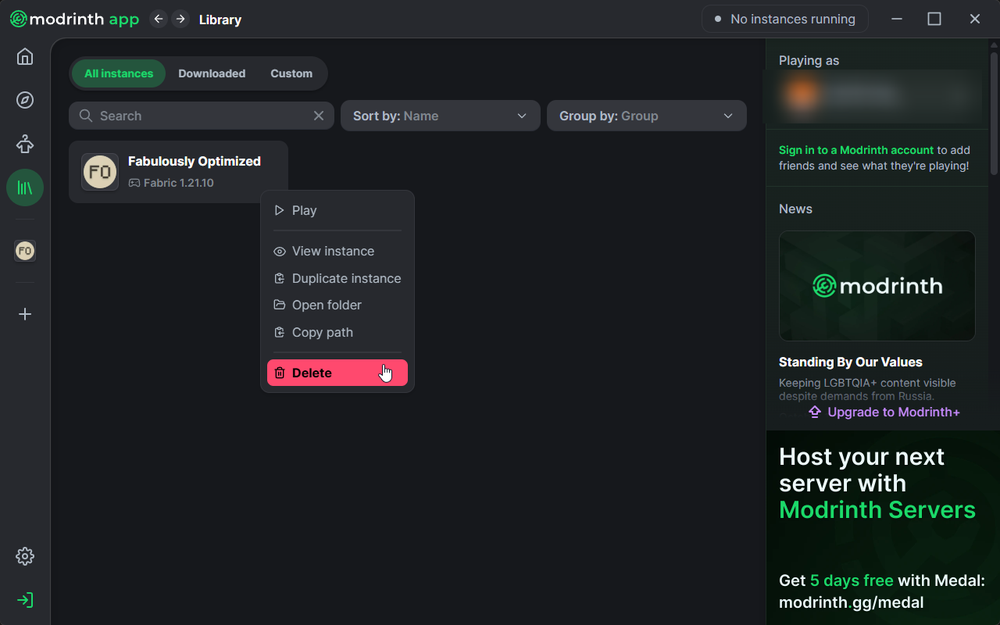
Click on the “Library” tab from your sidebar.
Locate the instance you want to delete, right click it, and select “Delete”.
How to create a custom instance
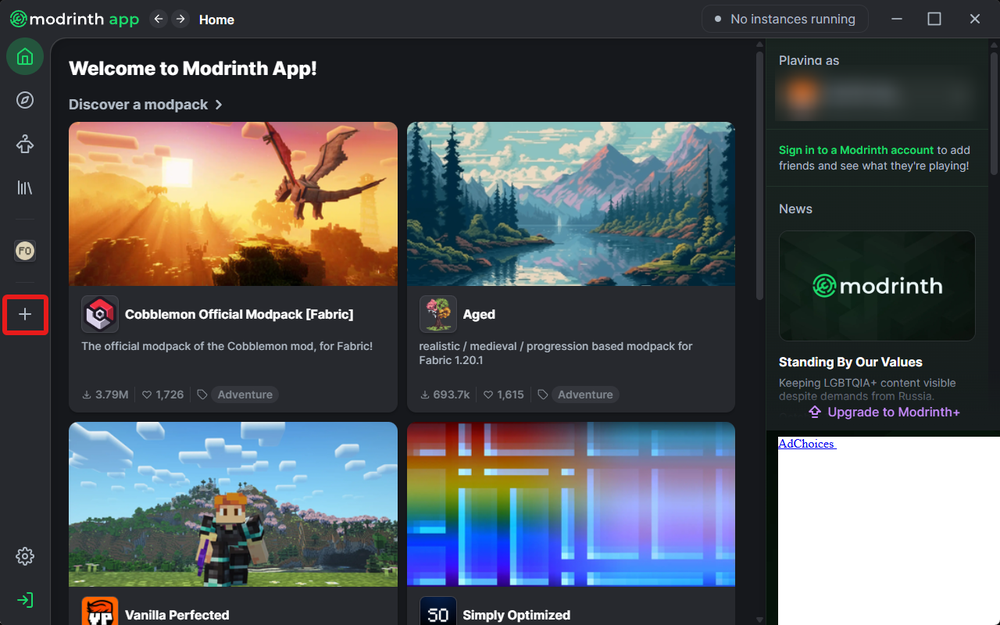
Once the launcher is opened click on the plus icon located on the bottom of left-hand sidebar.
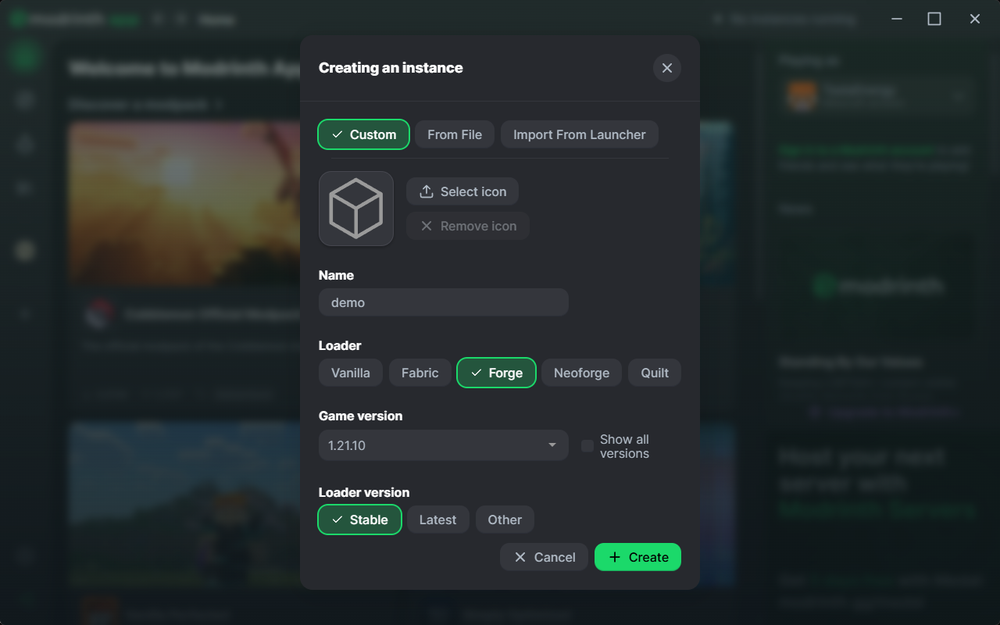
You will be given a 2nd window where you can pick an icon if you'd like, give it a name, pick your loader (Vanilla, Fabric, forge, etc.) and Minecraft version of the loader then click “create”.
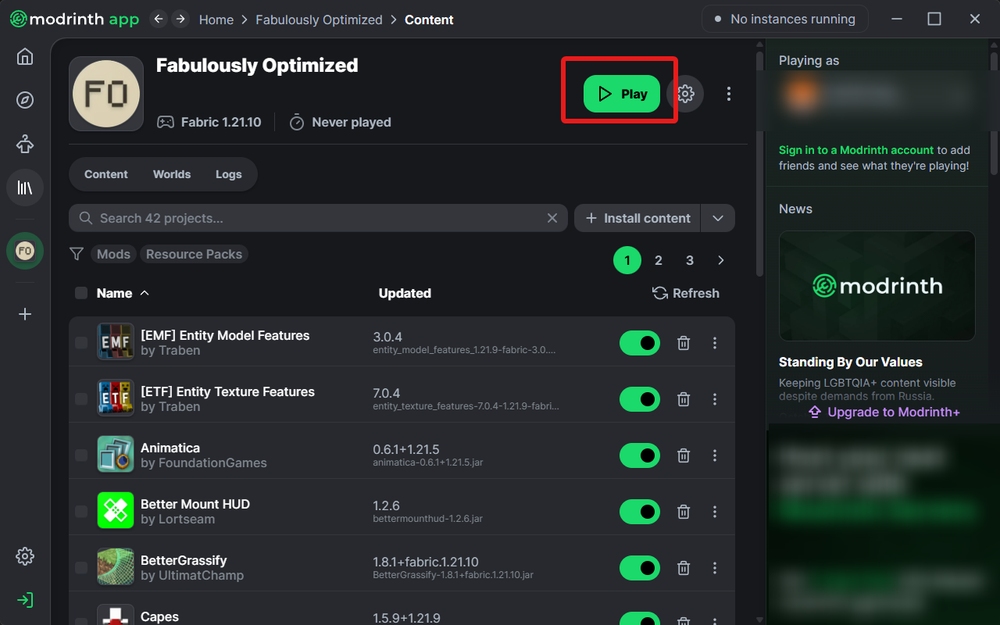
Once created it should appear in your sidebar and give you a screen that looks like this.
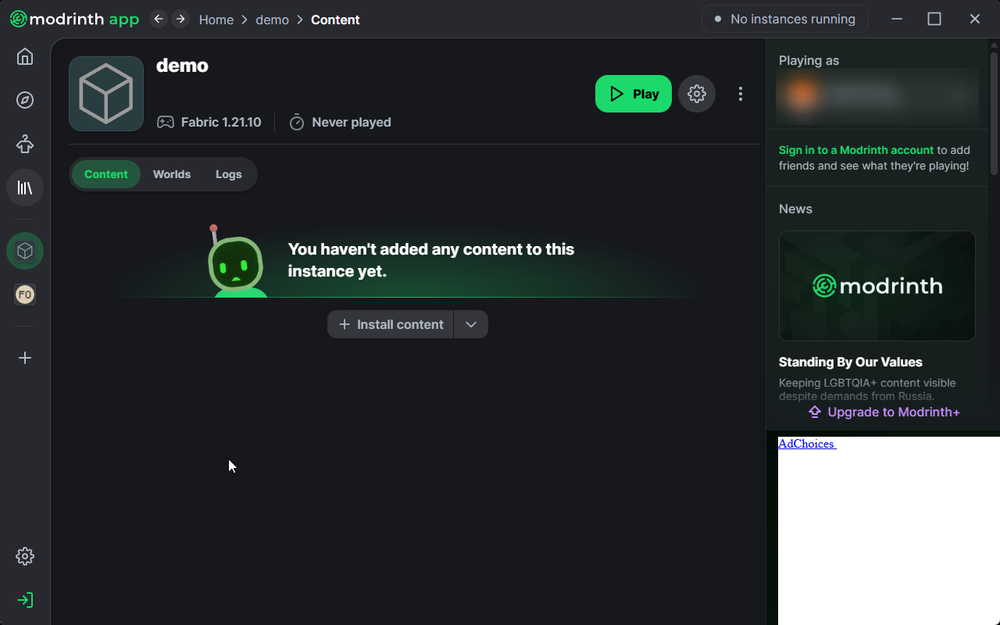
To add mods to your new instance, click on the “install content" and you will be taken to a page where you can scroll through a list of mods or search for a specific mod that you would like to add to your instance.
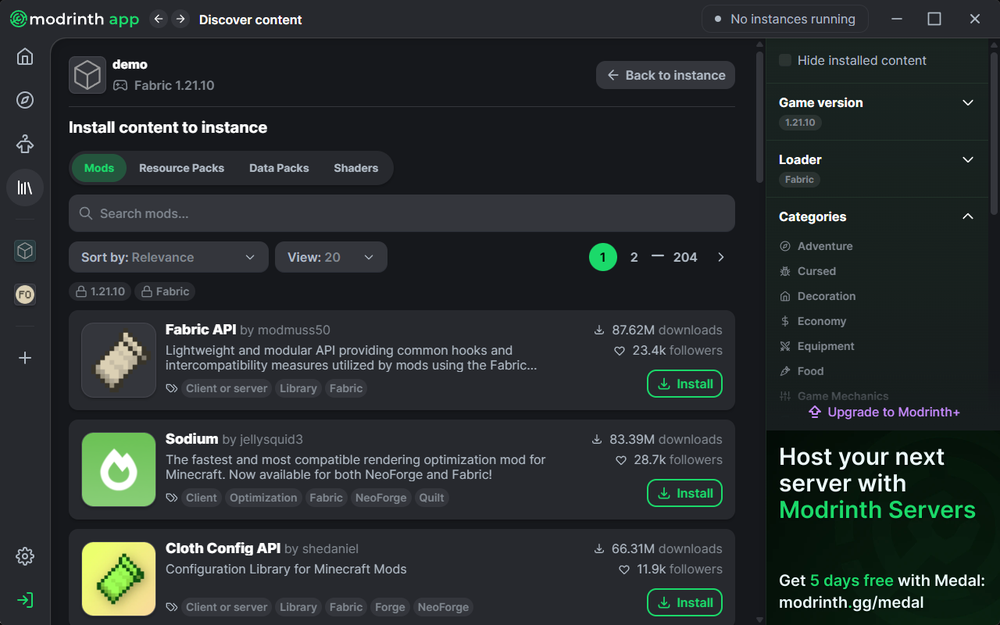
Once you find a mod that you'd like to add click the Install button and the mod will automatically be downloaded.
Additionally on the prior page you can click the triple dot menu and open the folder where you can manually install mods into the mods folder if you wish.
How to export an instance
To export an instance to share with others, open your library and select your instance that you'd like to export.
Once the instance is open, click on the triple dot menu and select “Export Modpack”.
You can change the name, version number or select additional files if you'd like but it is not required, and you can simply use the default values.
How to import an instance
Once the launcher is opened click on the plus icon located on the left-hand sidebar.
Select “From File” and then “Import from file”.
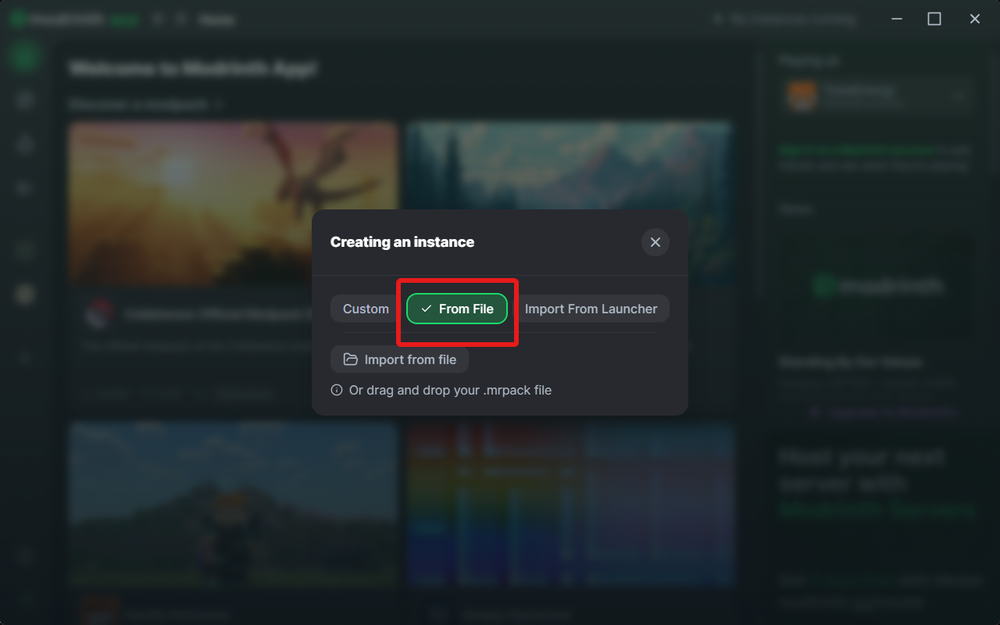
Browse and select the exported file that you have which should be a “.mcpack” file, then select open and the modpack will automatically import and download the needed mods.
How to change the memory/RAM allocation
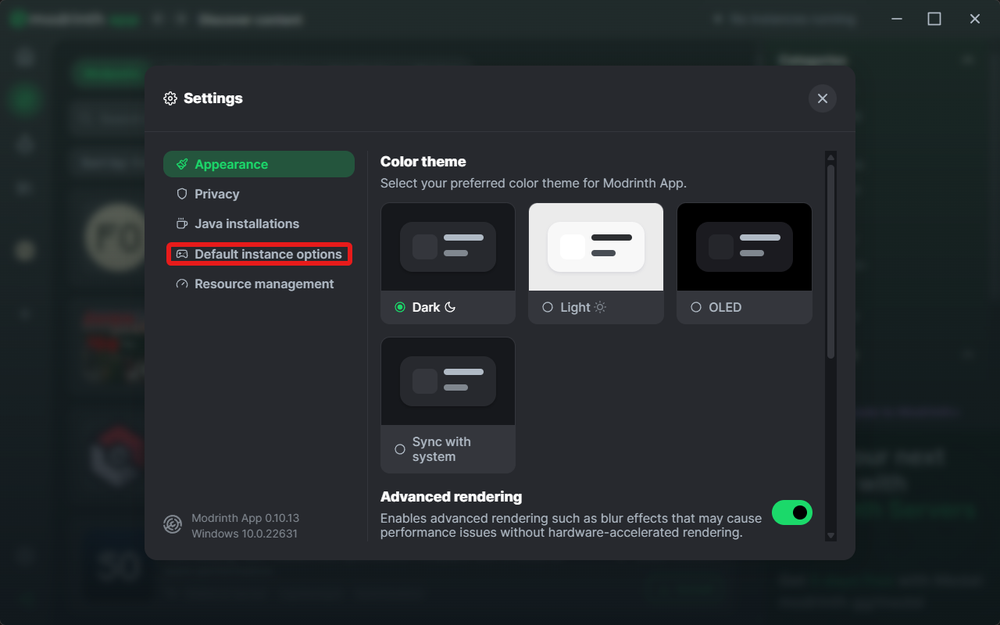
Click on the Gear icon in the lower left corner.
Next, click on "Default instance options”.
Locate the options under the instance settings that says, “Memory allocated”. By default, it should be set to 2048 which is the same as 2GB.
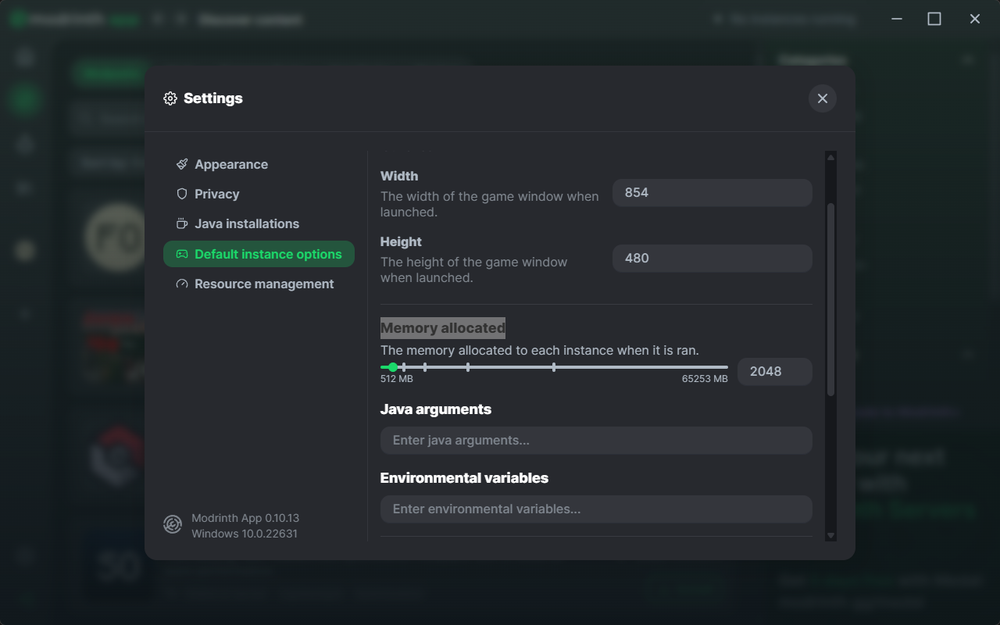
Slide the slider to the new desired amount of memory you'd like to allocate to your game. Most modpacks will operate fine on 4-8GB of RAM depending on the total number of mods. Please note that if you try to allocate more memory/RAM than your computer has installed, the modpack may fail to load entirely.
Once the changes are completed all you would need to do is start the modpack. There is no save button needed to apply the new settings.
Need Help?
If you have questions or run into any issues, our support team is here to help! Reach out using the support widget on our website or visit our support center for further assistance.