tModLoader Server Guide for 1.4
Installing tModLoader (Client)
With the release of Terraria 1.4, tModLoader is its own separate game branch, available on Steam as free DLC for the base game! This is the easiest method to install and play using tModLoader.
If you don't wish to use Steam to install tModLoader, the creators offer instructions on how to manually install it on their GitHub page HERE.
Using tModLoader
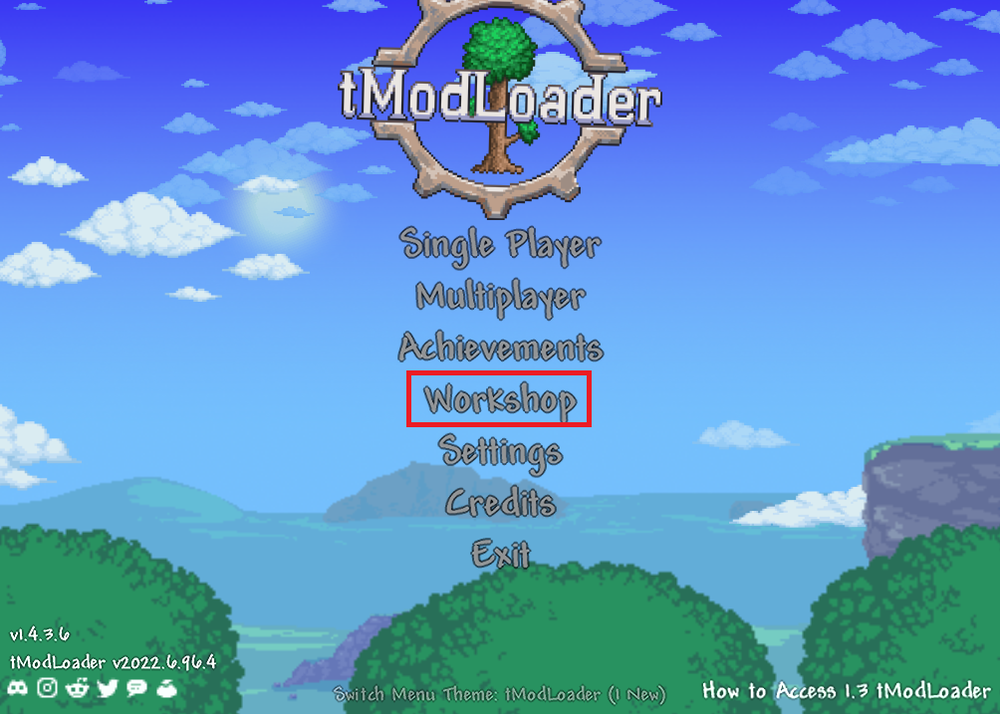
If you're using tModLoader for the first time, more options will appear in the main menu than what you usually see in the vanilla game. Use "Workshop" and then "Download Mods" to find a list of available mods. There may be a brief delay while a list of mods is generated. Select and install your desired mods.

Installing tModLoader (Server)
tModLoader will also need to be installed on the server. This can be done from the One Click Installer page on the left side of the Nodecraft Panel. Make sure the version on the server and the client match!
Adding Mods to your Server
Now we need to transfer your mods from your Client onto your Server.
In the "Workshop" option on your Client, click on "Manage Mods" and then the "Open Mods Folder" button near the bottom. This will take you to where the mods you've downloaded are. Generally, the default location will be \SteamLibrary\steamapps\workshop\content\1281930.

Inside will be your mods labeled by their workshop ID numbers.
In this example, we'll click on the folder for CalamityMod inside you'll see some more folders. The numbers of the folders correspond to the version of the mod, and generally, they should match the version of tModLoader that you'll see from your client's main menu in the lower left.
At the time of writing this article, the latest version was for 2023.6. But be sure to click on the version folder that matches your client.


Click on the version folder that matches your client (2023.6 for this particular example, though it very likely will be a higher number by the time you read this article). Inside, you'll see the mod file we'll need to upload to the server.

Head to the "File Manager" page on the left side of your panel, then navigate to /.local/share/Terraria/tModLoader/Mods. If these folders don't exist, you can manually create them, or start up your server at least once for the server to automatically create them.
Upload your zip file here using the upload button, FTP, or drag and drop. Then you'll select the zip file and click on the "Unzip" button.

Enabling Your Mods
In order for the server to recognize the mods, we'll need to enable them. This is accomplished by using an enabled.json file in the same location that you uploaded the mods, make sure the name of the file is all in lowercase.
Click on the "Create File" button above the File Manager window, and give it the name enabled.json.

Select the file you just created, and click on the "Edit" button in the Panel. Within this file is where you'll be adding all the names of each mod that you wish to use.

The information in the file needs to be in the format of a JSON file, of the names of the mods that you want to use. The file must begin and end in square brackets. Each mod should have its name in quotes, and if you have more than one line in the file, it must have a comma at the end of each line (except for the last line). When editing a .json format file, the dashboard will alert you if what you have typed does not match the proper syntax. Correct the file until the red alerts disappear.
Below is an example .json file for enabled.json that you can copy/paste to get started:
[
	"CalamityMod",
	"chadsfurn"
]
These mod names should reflect the name of the .tmod files that you uploaded. Linux is case-sensitive, so make sure the file name matches exactly (i.e. "tremor" is not the same as "Tremor" in Linux).
Be sure to "Save" your file when you're done editing it!
Start the Server
All that's left now is to start the server up, and then join it!