How to Enable and Disable Automatic Updates on A Windrose Server
In this guide we are going to go over how you can enable or disable automatic updates on your Windrose server. Automatic updates can be a convenient option to ensure your server is always running the latest version of the game by simply restarting/starting your server. Automatic updates are not for everyone though, if you use mods or have other custom changes on your server, they could stop working or cause corruption to your world after the update if those changes or mods do not load after the update. It’s recommended to have frequent backups if you automatically update your server.
How to Enable/Disable Automatic Updates
Open your Dashboard
Locate your Windrose server and click on the Panel button.
Once on your panel, navigate to your Manage Instance section and click on Manage.

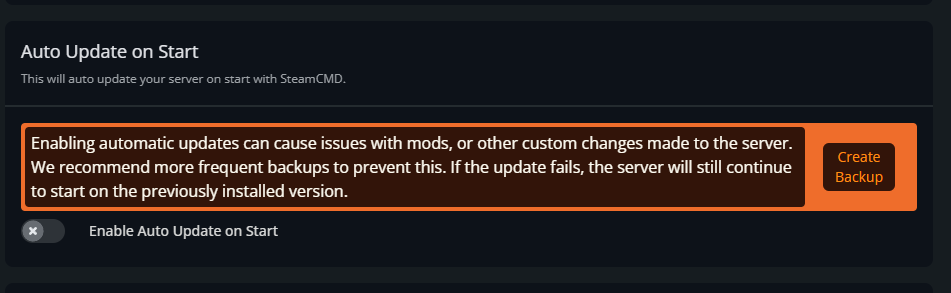
Once on the manage page, locate the Auto update on Start section near the bottom of the page.
Toggle the Enable Auto Updates on Start on to make sure your server is always updated when you restart or start your server or toggle it off to disable automatic updates.
Once you Enable/Disable the automatic updates setting, click Save Changes at the bottom of the page.
Conclusion
You’ve now Enabled or Disabled automatic updates on your Windrose server. While automatic updates can be a nice convenience option for your server it does have its pros and cons. If enabling automatic updates, it’s highly recommended that you have more frequent backups of your server, especially if you use mods or have any other custom changes to your server.
Need Help?
If you have questions or run into any issues, our support team is here to help! Reach out using the support widget on our website or visit our support center for further assistance.