


Make a Valheim Server Appear on the Community Server List

In this guide we’ll cover how you can make sure your Valheim server can appear on the community server lists. Having your server appear on the server list is a good idea especially if you are looking for a more public server experience and now just with friends that you directly invited.
Changing the Name
Open your Dashboard
Locate your Valheim server and click on the Panel button.
Once on the panel, Stop your server then click on Game Settings.
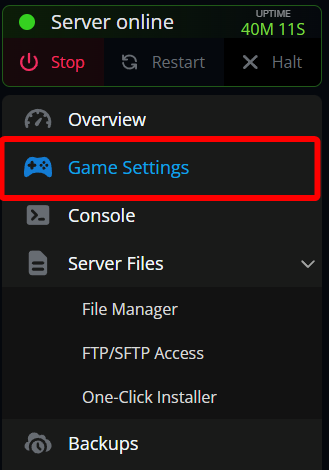
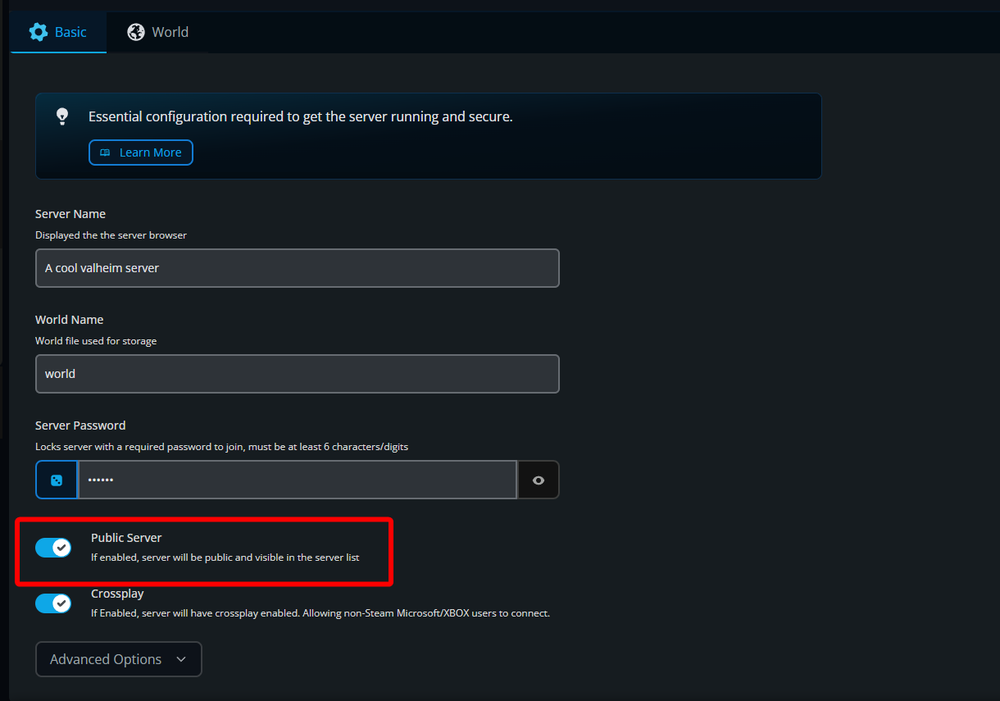
Once on the game settings page, locate the Public Server option and ensure it is enabled.
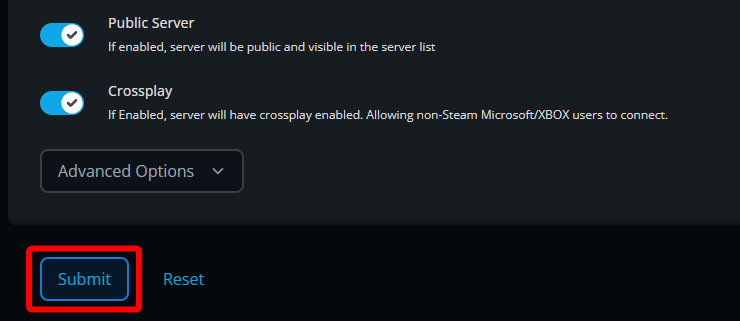
Once you are done with your name, click on Submit.
Start your server.
Conclusion
Your server will now appear in the community server lists. It is normal that you may not immediately see your server in the list as it can take up to 15 minutes after fully starting to appear.
Need Help?
If you have questions or run into any issues, our support team is here to help! Reach out using the support widget on our website or visit our support center for further assistance.