How to Add an Allowlist to your SCP: Secret Laboratory Server

Support / SCP: Secret Laboratory / How to Add an Allowlist to your SCP: Secret Laboratory Server
SCP: Secret Laboratory icon
Create a SCP: Secret Laboratory Server today!
Start Free Trial

In this guide we are going to cover how you can set up a whitelist on your SCP server. A whitelist is a great way to moderate your server and ensure that players that join your server are only ones that you have allowed to join.

Adding a player to the whitelist

  1. Open your dashboard

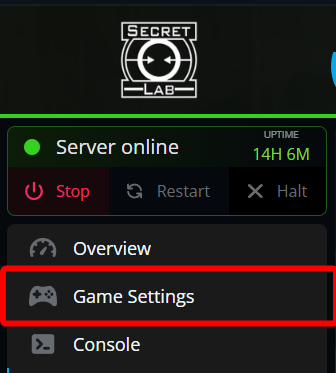
  2. Locate your SCP server and click on the panel button.

  3. Once you are on your SCP panel, stop your server then navigate to the Game Settings page.
    Close-up of the Nodecraft control panel sidebar for an SCP: Secret Laboratory server, showing the server status as online with a red box highlighting the Game Settings option under the Overview tab.

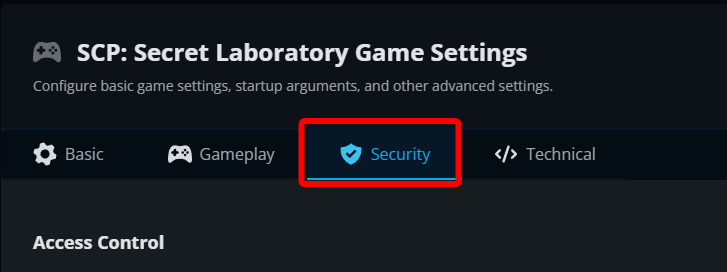
  4. Once on the settings page, click on the Security tab.
    The Nodecraft control panel menu for SCP: Secret Laboratory Game Settings, with a red box highlighting the Security tab located between the Gameplay and Technical options.

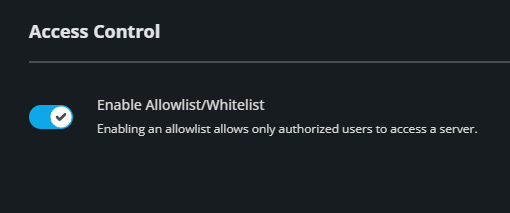
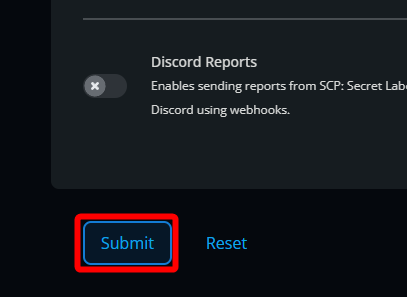
  5. On the security tab ensure Enable Allowlist/Whitelist is turned on under the Access Control section then click submit.
    The Access Control section within the Nodecraft server panel, showing a toggle switch turned on to Enable Allowlist/Whitelist for an SCP: Secret Laboratory server.Close-up of the Nodecraft control panel settings area showing a red box highlighting the blue Submit button located next to the Reset option.

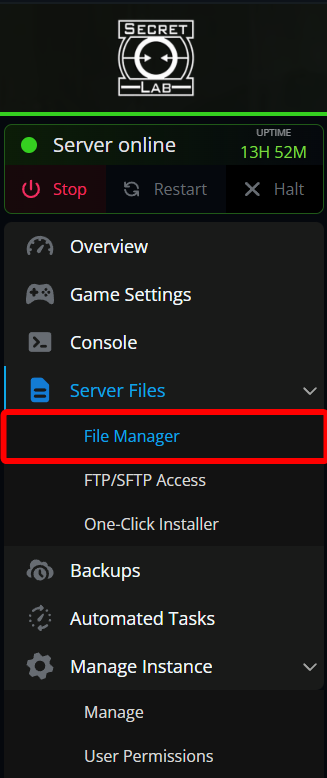
  6. Once the whitelist is enabled then navigate to your File Manager.
    Close-up of the Nodecraft control panel sidebar menu, showing the Server Files dropdown expanded with a red box highlighting the File Manager option under an online server status.

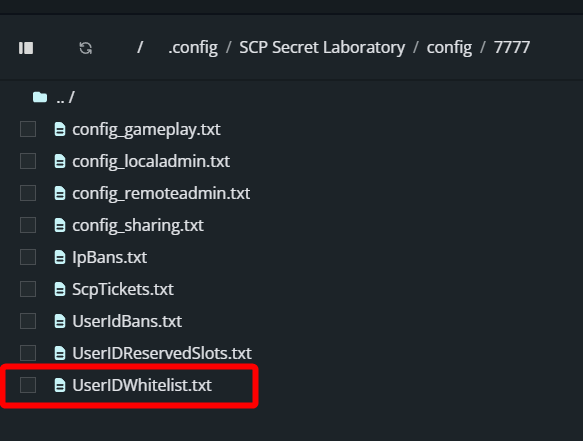
  7. Once on the file manager, navigate to following folder: /.config/SCP Secret Laboratory/config/<ServerPort Number(Typically 7777)>/ .
    The Nodecraft File Manager displaying the directory path structure for an SCP: Secret Laboratory server, with a red box highlighting the 7777 port folder and the UserIDWhitelist.txt configuration file visible in the right panel.

  8. Once in the config folder, open the file UserIDWhitelist.txt by double clicking on it.
    The Nodecraft File Manager displaying a list of server configuration files, with a red box highlighting the selection checkbox next to UserIDWhitelist.txt under the config directory path.

  9. For the next part you will need your or the players SteamID64 which can be looked up on SteamID.net.
    A view of the SteamID.net website for converting and looking up Steam IDs

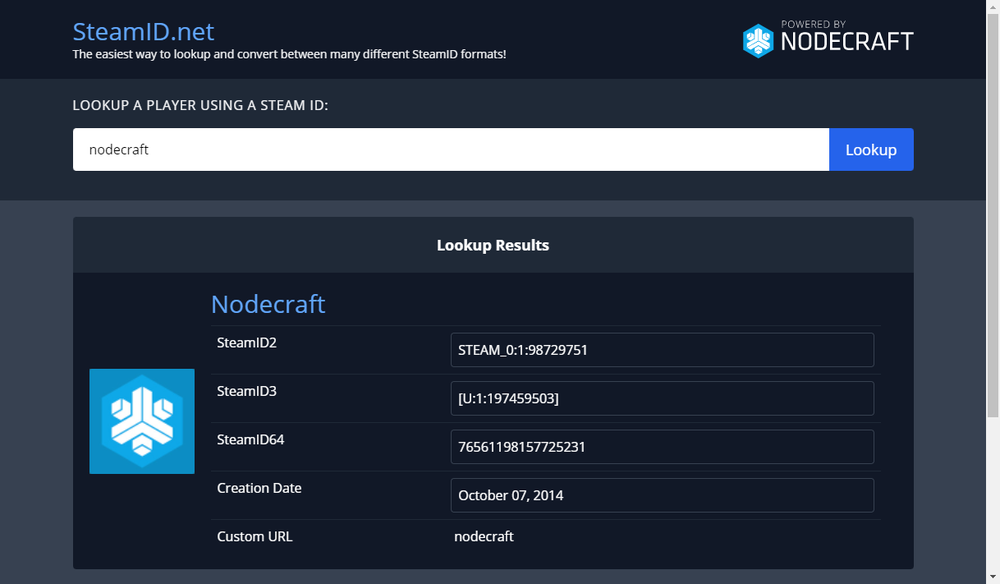
  10. Once on the website, enter the steam username you’d like to get the ID for and click lookup.

  11. Once looked up, the Steam64ID will appear listed below.

  12. Once you copy the SteamID64 go back to the file UserIDWhitelist.txt and paste in the ID on a new line being sure to add @steam after the steamID64.
    The UserIDWhitelist.txt file open in the Nodecraft text editor, with a red box highlighting a line of code showing a player's SteamID64 correctly appended with @steam under a comment placeholder.

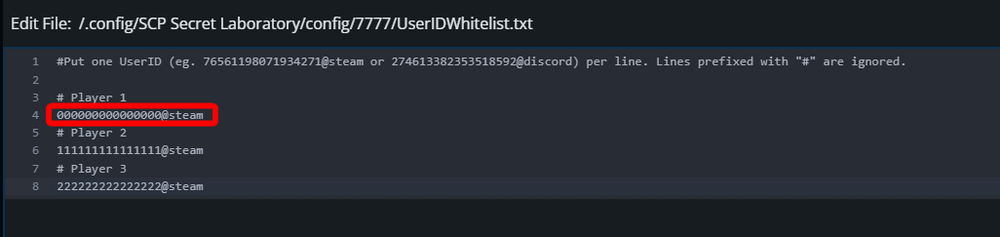
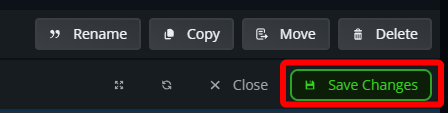
  13. Once you have added the players to the file, click save.
    Close-up of the Nodecraft code editor toolbar showing a red box highlighting the green Save Changes button next to Rename, Copy, Move, and Delete options.

  14. Start your server.

Conclusion

You have now enabled the whitelist on your SCP server. Your server will now only allow those you have been added to the whitelist to join your server.

Need Help?

If you have questions or run into any issues, our support team is here to help! Reach out using the support widget on our website or visit our support center for further assistance.