


How to Set Up RCON on a Project Zomboid Server

In this guide we are going to cover how you can set up RCON on your Project Zomboid server. RCON allows you to send server commands remotely through an RCON client. By default, no RCON password is set, so you will need to create one to enable this feature.
Open your Dashboard.
Locate your Project Zomboid server and click on the Manage button.
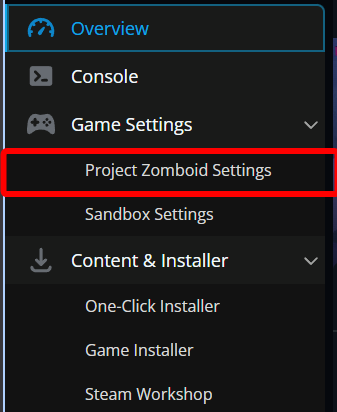
Under Game Settings, click on Project Zomboid Settings.
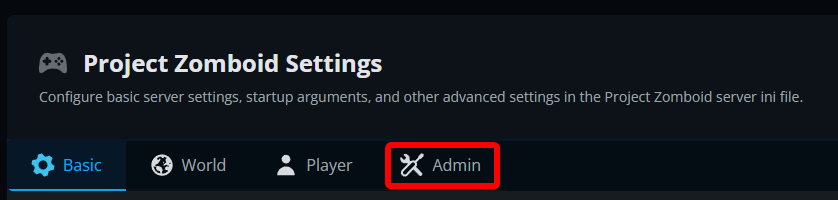
Go to the Admin tab.
Scroll down to the Network & Ports section and locate RCON Password.
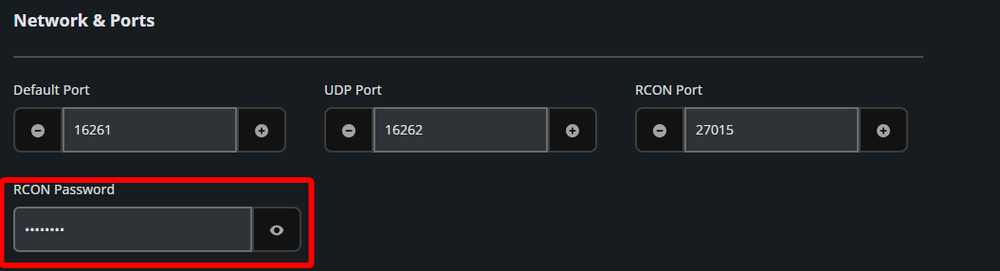
Enter a strong password into the RCON Password field.
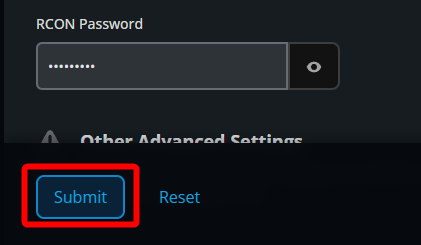
Note: Keep this password available for connecting through your RCON client but do not share it.Once the password has been changed, click on Submit.
Start/restart your server to apply the change.
To connect through an RCON client, use your server’s numeric IP address, its RCON port which should be 27015, and the password you just set.
Conclusion
You have now set an RCON password and enabled RCON on your Project Zomboid server. You can use these connection details with an RCON client to send commands and manage your server remotely.
Need Help?
If you have questions or run into any issues, our support team is here to help! Reach out using the support widget on our website or visit our support center for further assistance.