


Valheim Boss Guide: Kall Fimbulbringer

Kall Fimbulbringer is the final boss introduced with Valheim 1.0 and waits in the Deep North. Reaching him takes more work than walking up to an altar with a stack of offerings. You will need to clear three Gates of Mörkhalla, trigger three Jotun Invasions, collect three Malicious Blood, and use them at the Aesir Passage.
If you made it through the Ashlands and thought Valheim might finally let you relax, the Deep North has other plans. In this guide, we will go over how to find Kall Fimbulbringer, collect the items needed to summon him, prepare for the fight, defeat each phase, and collect his rewards.
Kall Fimbulbringer Quick Reference
| Biome | Deep North |
|---|---|
| Boss Location | Aesir Passage |
| Summoning Items | 3 Malicious Blood |
| Fight | Three phases |
| Best Damage Types | Slash and Blunt |
| Resists | Pierce, Fire, Frost, and Lightning |
| Immune | Spirit |
| Drops | Sacrificial Blood and Crown Jewel |
How to Find Kall Fimbulbringer
Before you can reach Kall Fimbulbringer, you will need to progress through the Gates of Mörkhalla. These dungeons appear throughout the Deep North as large stone fortresses and are part of the progression required to collect Kall's summoning materials.
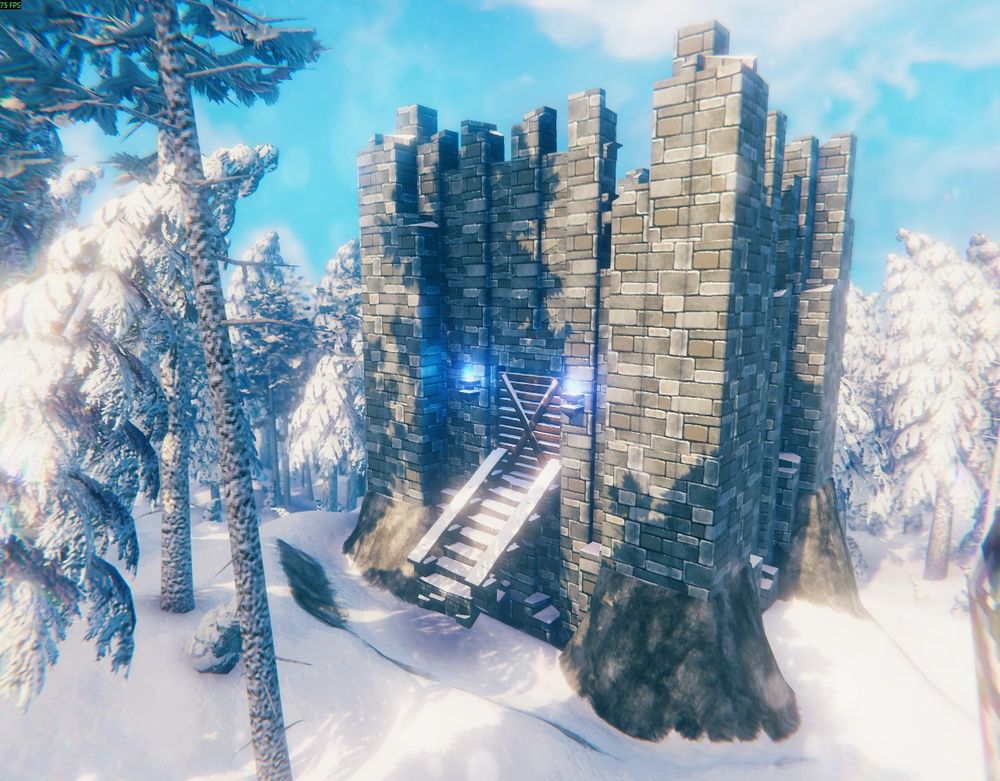
Inside Mörkhalla, the chained gate requires an Intricate Key before you can continue. If you have not crafted one yet, you will need to progress through the Deep North crafting chain to create an Intricate Key first.
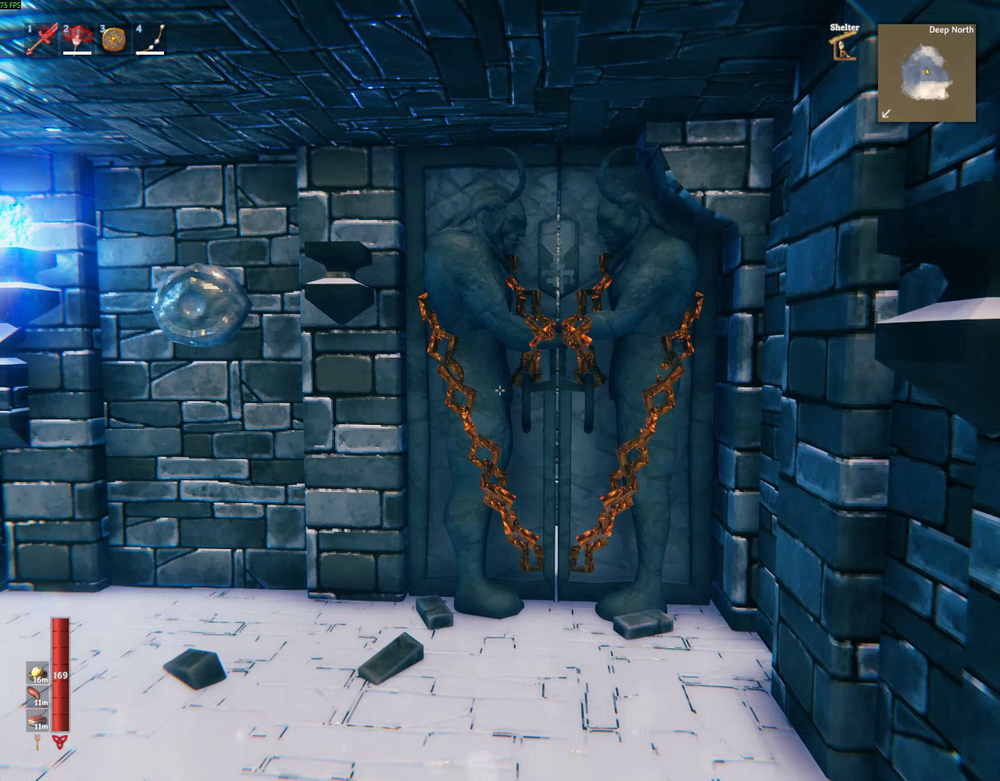
Interact with the gate while carrying the Intricate Key to unlock it and enter the dungeon.
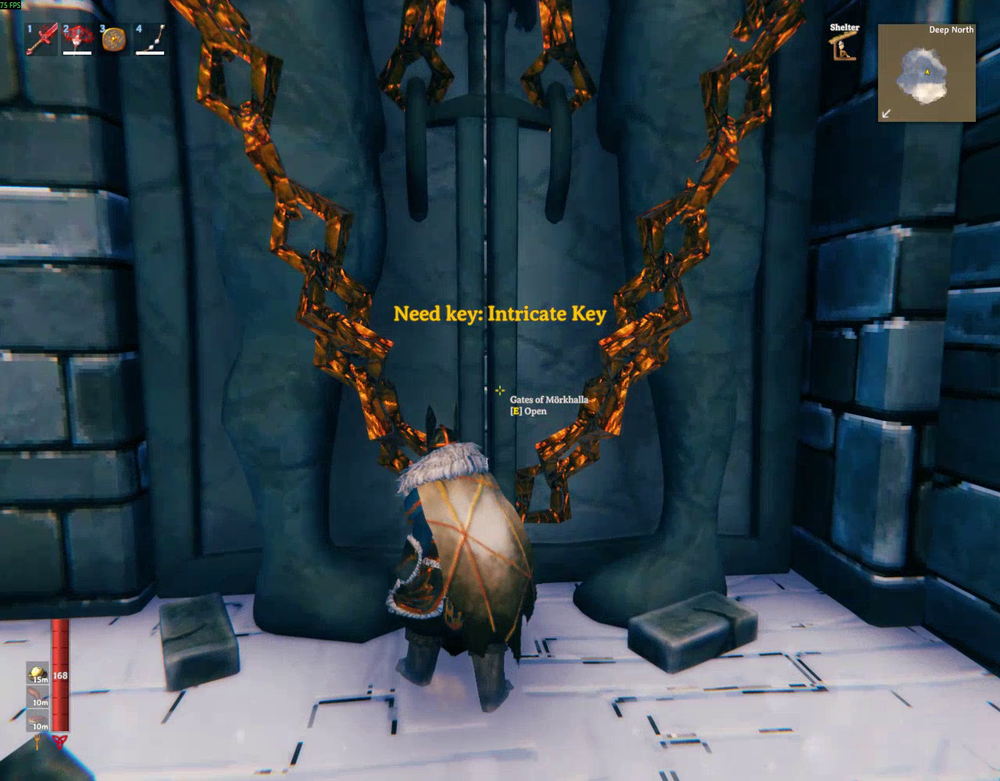
Once inside, work your way toward the lowest chamber of Mörkhalla. The dungeon contains several enemies and branching areas, but your main objective is the large Malicious Ice formation located near the bottom.
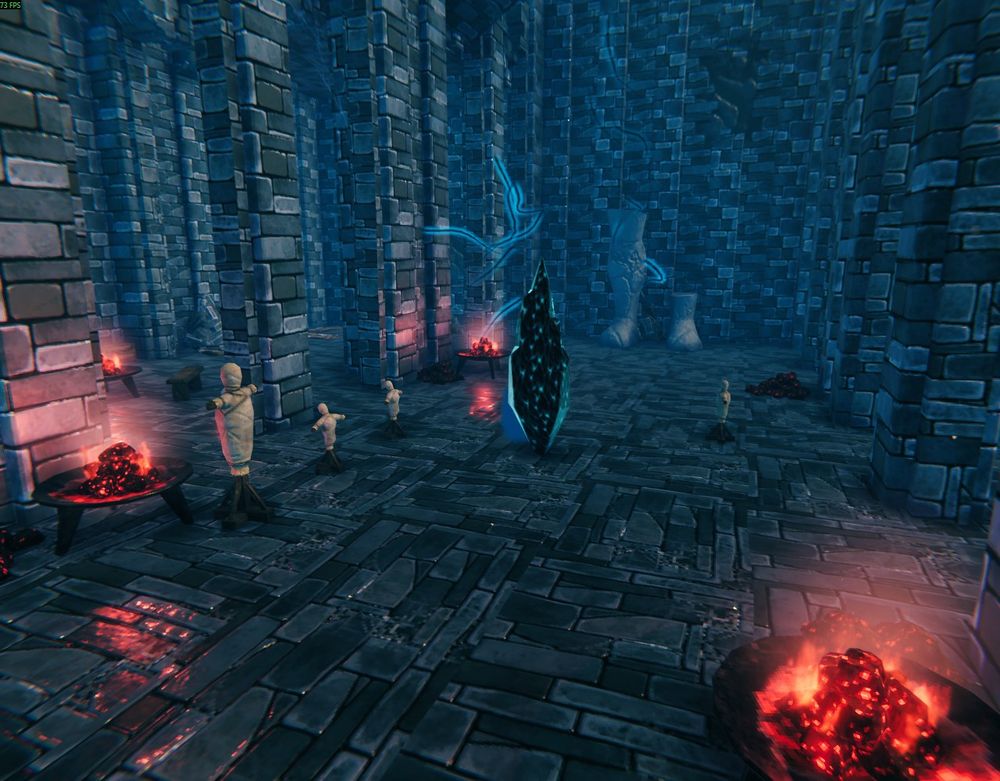
Approach the formation and confirm that it is labeled Malicious Ice before destroying it.
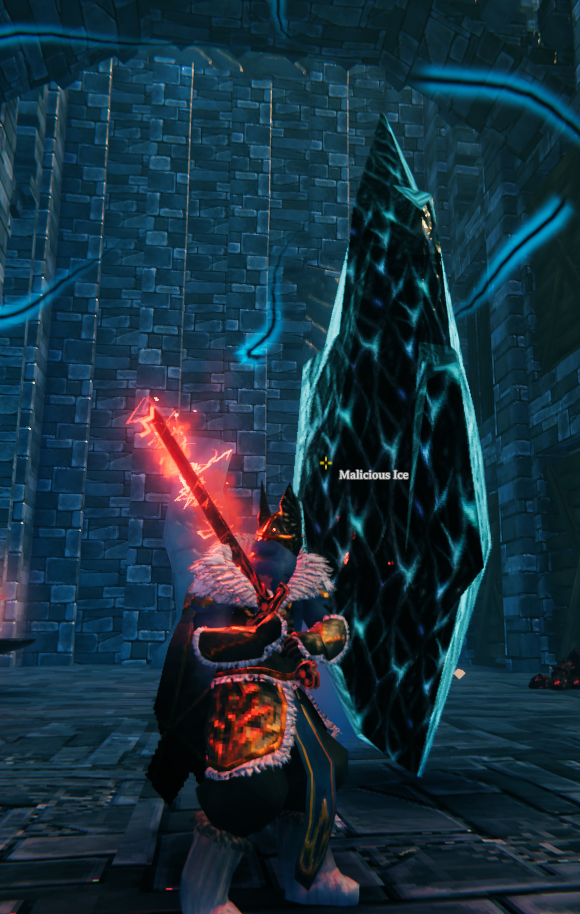
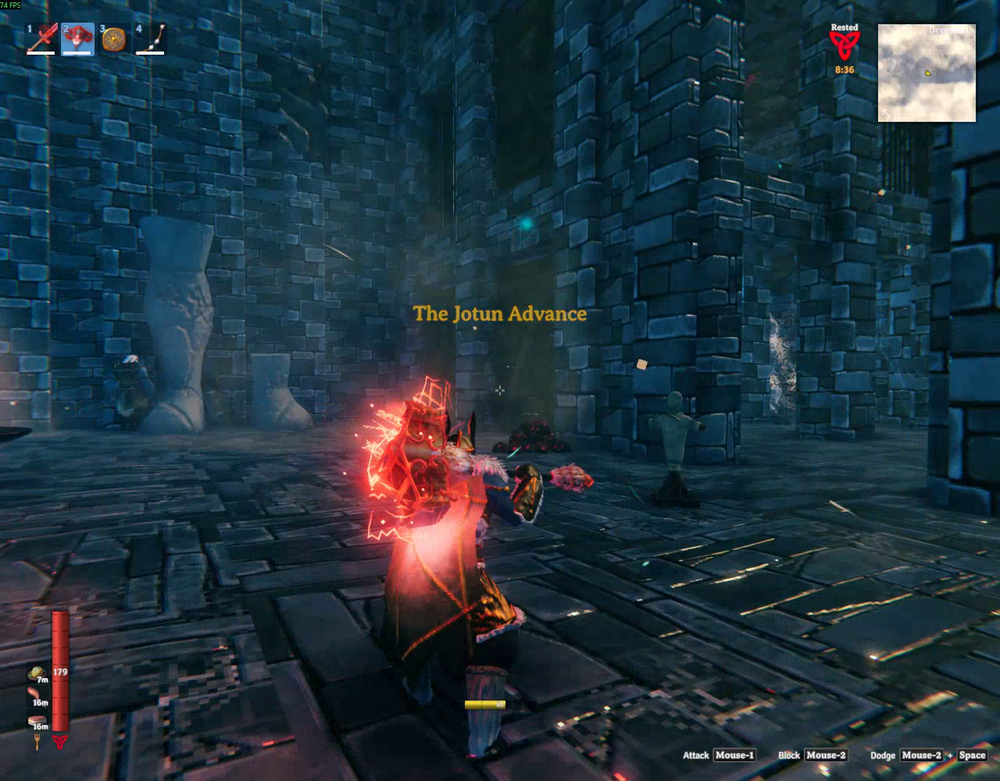
Destroy the Malicious Ice. Once it breaks, the message The Jotun Advance will appear and a Jotun Invasion will be added to your map. Apparently the Deep North decided keeping its problems in the Deep North was too easy.
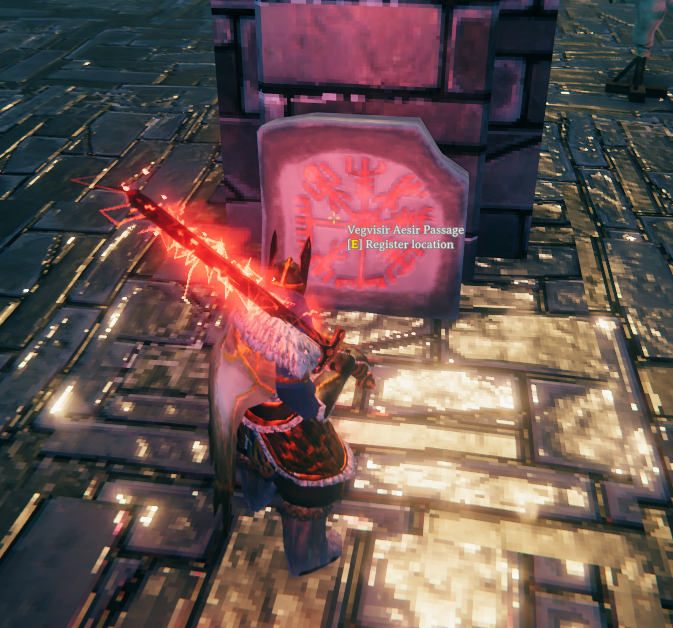
Before leaving Mörkhalla, look for the nearby Vegvisir Aesir Passage and interact with it. This registers the Aesir Passage, where Kall Fimbulbringer is located, on your map.
Open your map after registering the location to confirm that the Aesir Passage marker has been added. You will return here once you have collected all three Malicious Blood.

How to Get Malicious Blood
After destroying the Malicious Ice in Mörkhalla, open your map and look for a red flashing area labeled Jotun Invasion. The invasion appears in one of Valheim's earlier biomes rather than the Deep North.
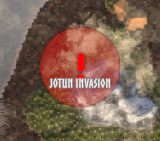
Travel to the marked invasion. Deep North enemies will begin appearing inside the red area, even though you are back in one of Valheim's earlier biomes.
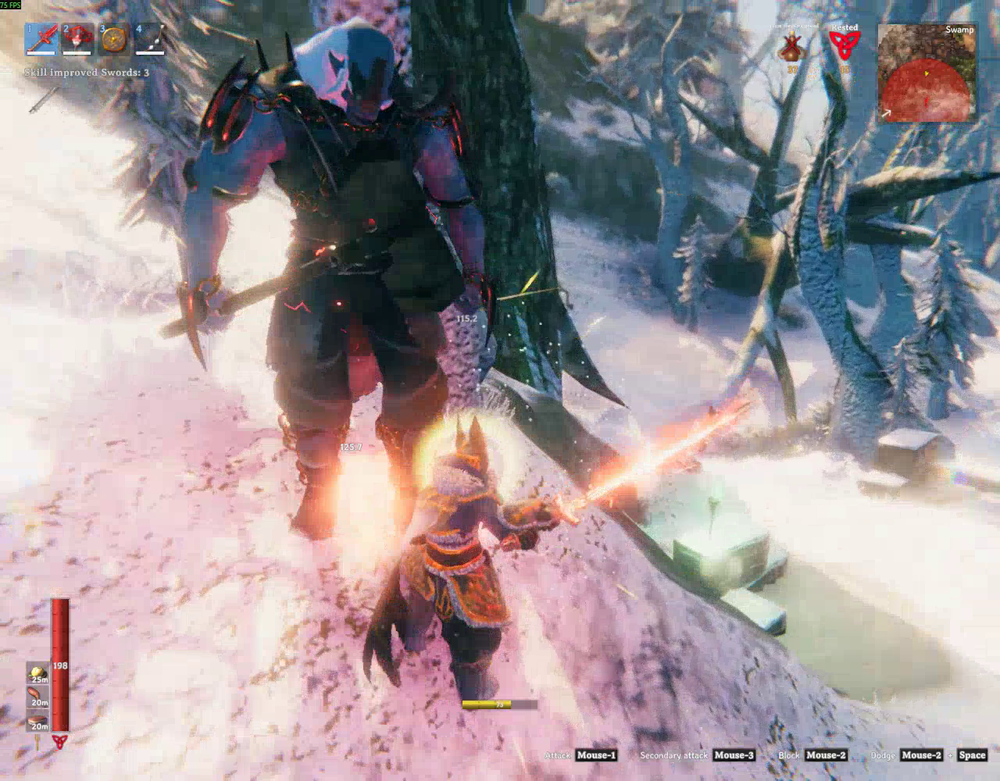
Work your way toward the center of the invasion to find another large Malicious Ice formation.
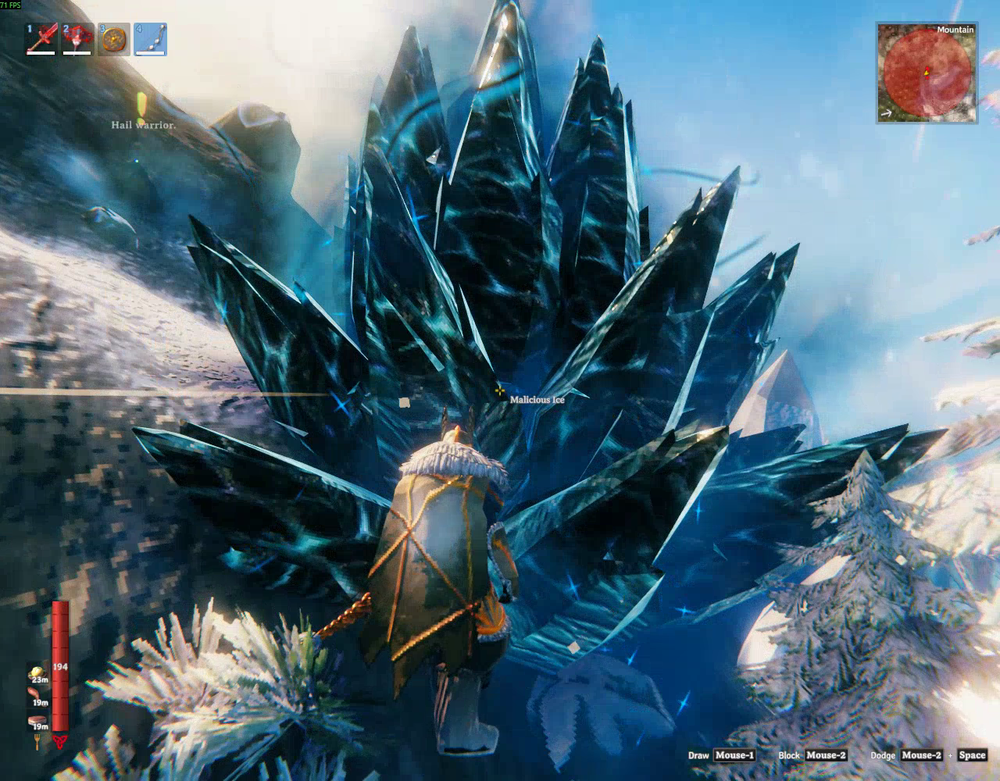
Destroy the Malicious Ice until the central core breaks. Once the invasion is defeated, The Jotun Retreat will appear and you will receive Malicious Blood.
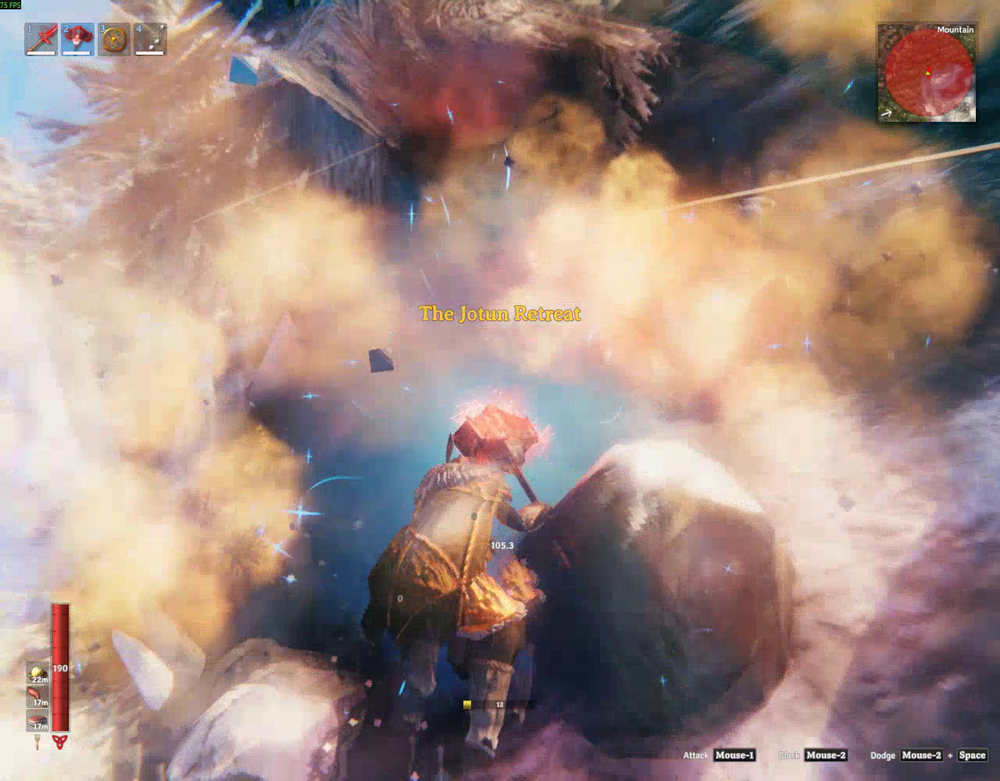
You need 3 Malicious Blood to summon Kall Fimbulbringer. To collect all three, you will need to repeat the Mörkhalla and Jotun Invasion process two more times with two additional Intricate Keys. Yes, Valheim really does make you do the whole thing three times. Nobody said final-boss paperwork would be efficient.
How to Summon Kall Fimbulbringer
Once you have collected 3 Malicious Blood, travel to the Aesir Passage marked on your map. The Aesir Passage is a large chained stone gateway in the Deep North with the Strange Bowl sitting directly in front of the frozen entrance.
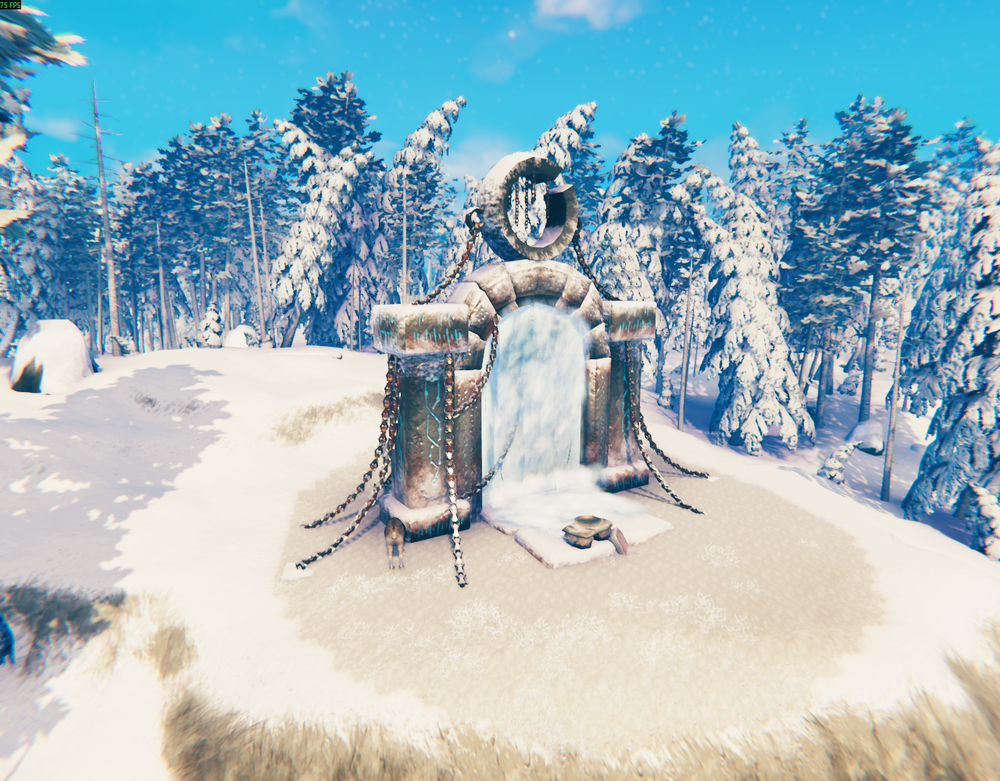
Approach the Strange Bowl at the base of the gate. A warning appears explaining that the being imprisoned beyond the gate is more powerful than anything else in Valheim, so this is a good time to make sure you are actually ready for the fight.
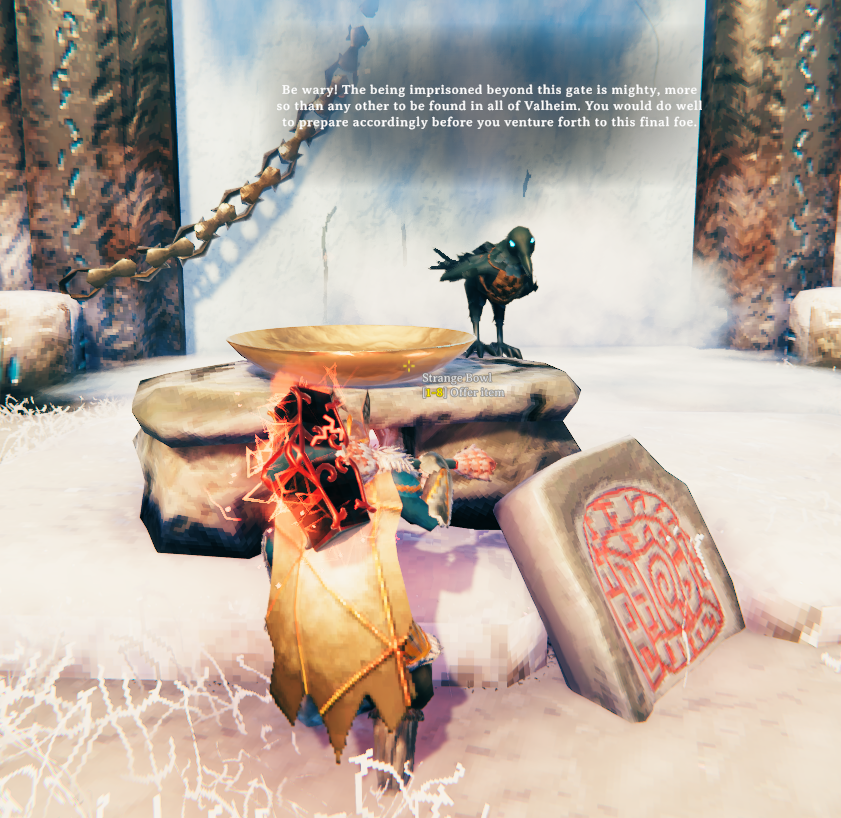
Place the 3 Malicious Blood in a hotbar slot and offer them to the Strange Bowl to open the way to Kall Fimbulbringer.
Once the sacrifice is accepted, all three Malicious Blood are removed from your inventory and the message You make the sacrifice appears as the entrance begins to activate.
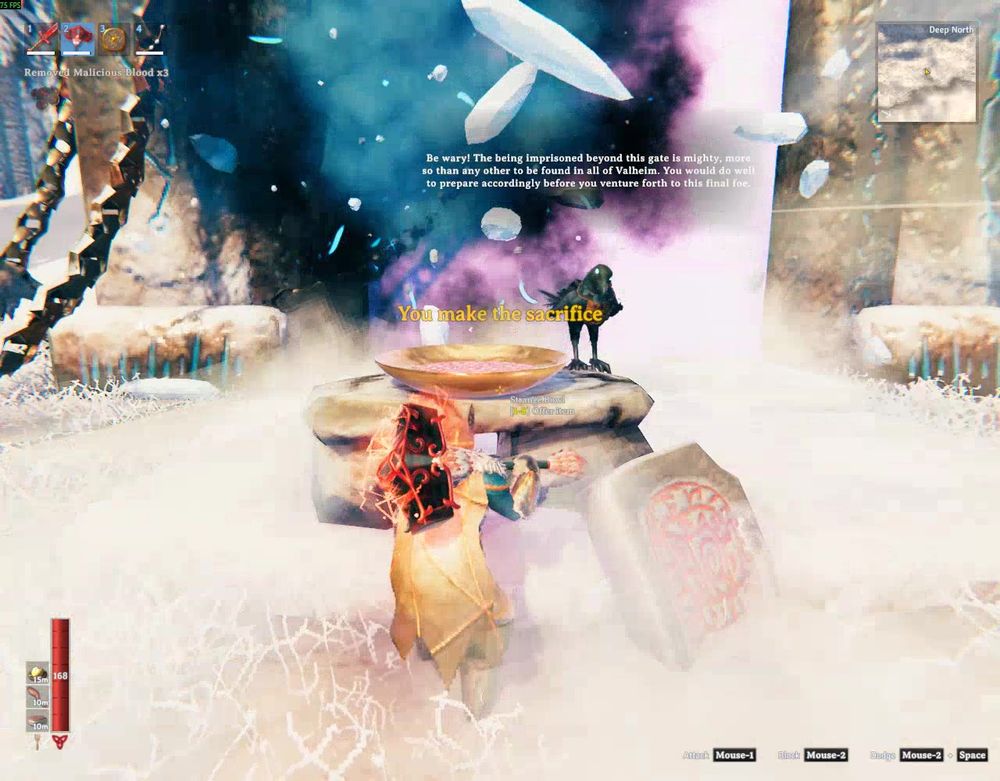
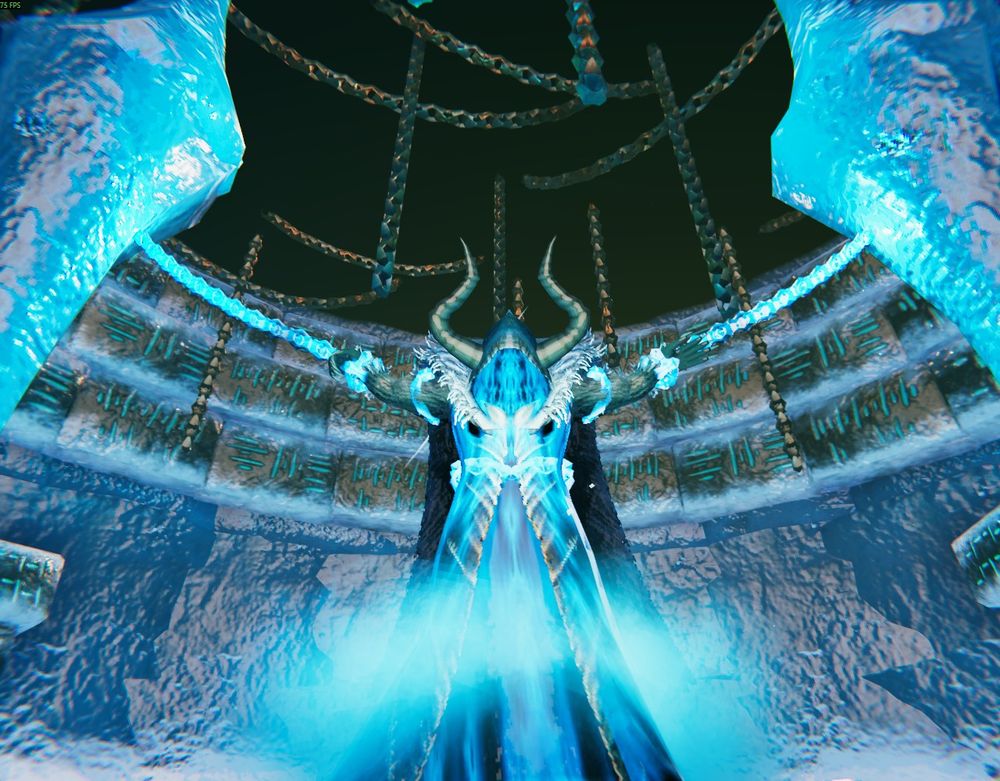
Let the opening sequence finish before moving through the gate. Once you enter, the area is identified as The Prison, where Kall Fimbulbringer waits at the far end of the arena.
How to Prepare for Kall Fimbulbringer
Kall is Valheim's final boss, and this is not the time to walk in with half-broken equipment. Repair your armor and weapons before entering, bring your strongest upgraded gear, and stock up on your best health and stamina foods along with healing meads. Kall resists Pierce, Fire, Frost, and Lightning and is immune to Spirit, so prioritize weapons that deal Slash or Blunt damage.
How to Defeat Kall Fimbulbringer
Once you are ready, approach Kall to begin the fight. Kall has three separate phases and roughly 47,000 total health across the encounter, with the final phase making up most of that total. The fight gets progressively more chaotic, so save enough stamina to dodge and avoid committing to long attack combos unless Kall has just finished an animation.
Phase One
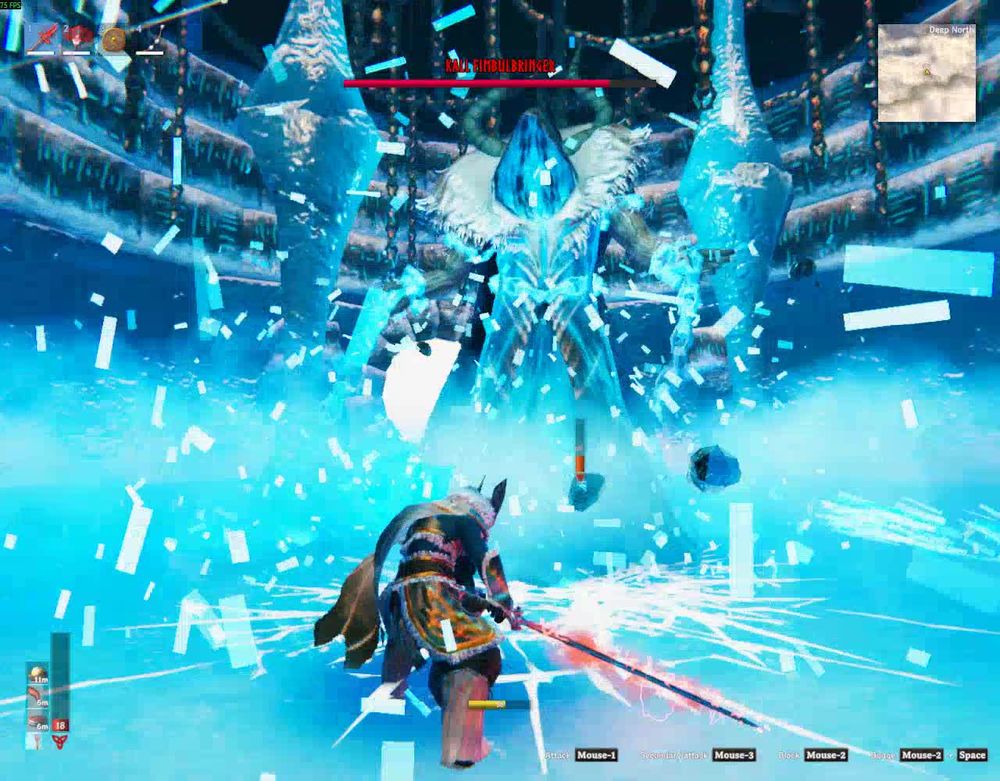
Phase one is the most straightforward part of the fight. Kall relies heavily on his chains, including overhead slams, wide sweeps, spinning attacks, and a rush that can close distance quickly. His chains reach farther than they look, so backing away in a straight line is not always enough. Move around Kall and attack during the recovery after one of his chain attacks.
Kall can also send large chunks of rock or ice across the arena. If you see debris lifting around him, keep moving and get out of the line of fire before going back in. Apparently being the final boss means he is allowed to use the building itself as ammunition.
Phase Two
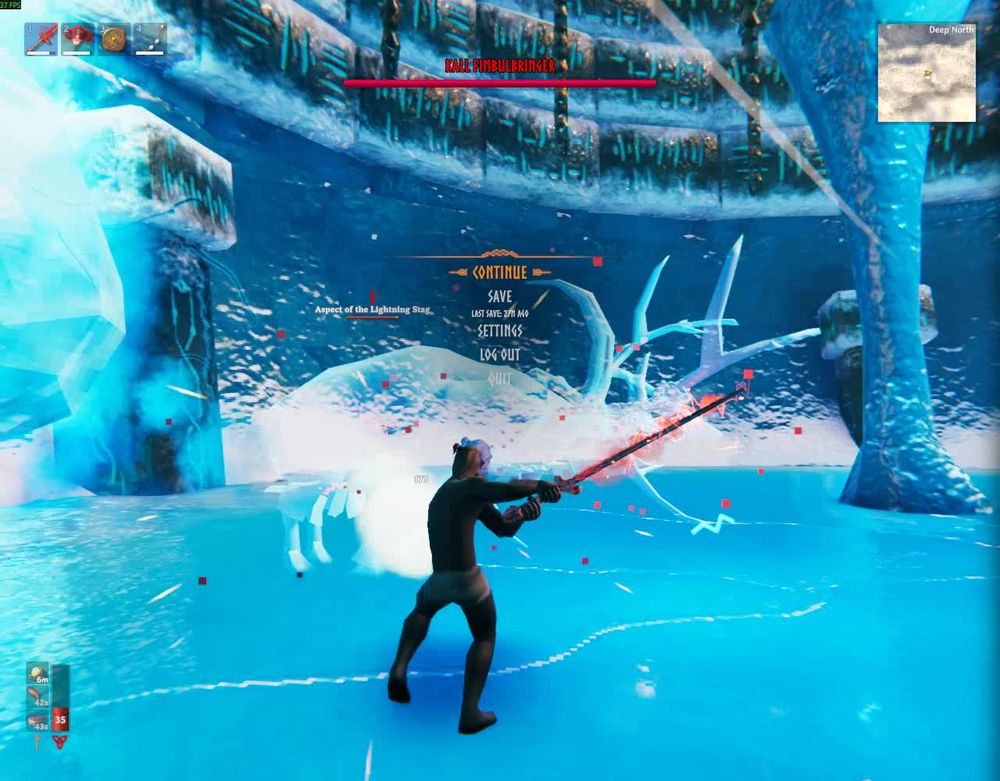
Once the first health bar is depleted, Kall transitions into phase two. During this phase, he can become completely immune to damage while summoning aspects of the seven Forsaken you defeated earlier: the Lightning Stag, Living Forest, Writhing Dead, Dragon Mother, Twisted Soul, Crawling Matriarch, and Emerald Flame.
Do not waste attacks on Kall while he is immune. Focus on the summoned aspects and reduce their numbers as quickly as possible. Each one borrows mechanics from its original boss, so having several active at once can turn the arena into a mess very quickly. Once the aspects are defeated, Kall becomes vulnerable again and you can finish the phase.
Phase Three
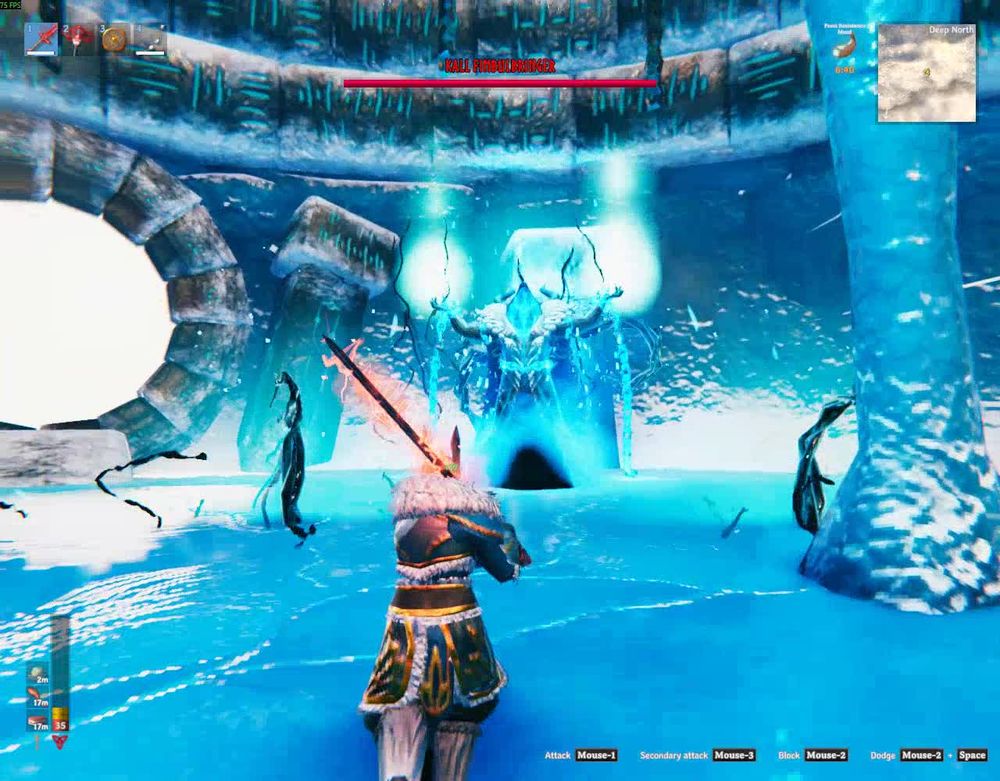
When phase three begins, Kall returns with his largest health pool and adds more elemental pressure. His chain attacks continue, but the later versions can add Fire and Frost damage, and he gains a rapid Chain Flurry. Kall can also plant Tendrils around the arena that damage anything standing in them. The Tendrils have little health and disappear on their own, but clearing one can create a safer path if they box you in.
Phase three is the longest part of the fight, so do not treat the reset health bar like a sprint. Keep moving, use the arena space, heal when needed, and attack in short windows. Fire and Frost resistance are especially useful here.
Kall Fimbulbringer Rewards
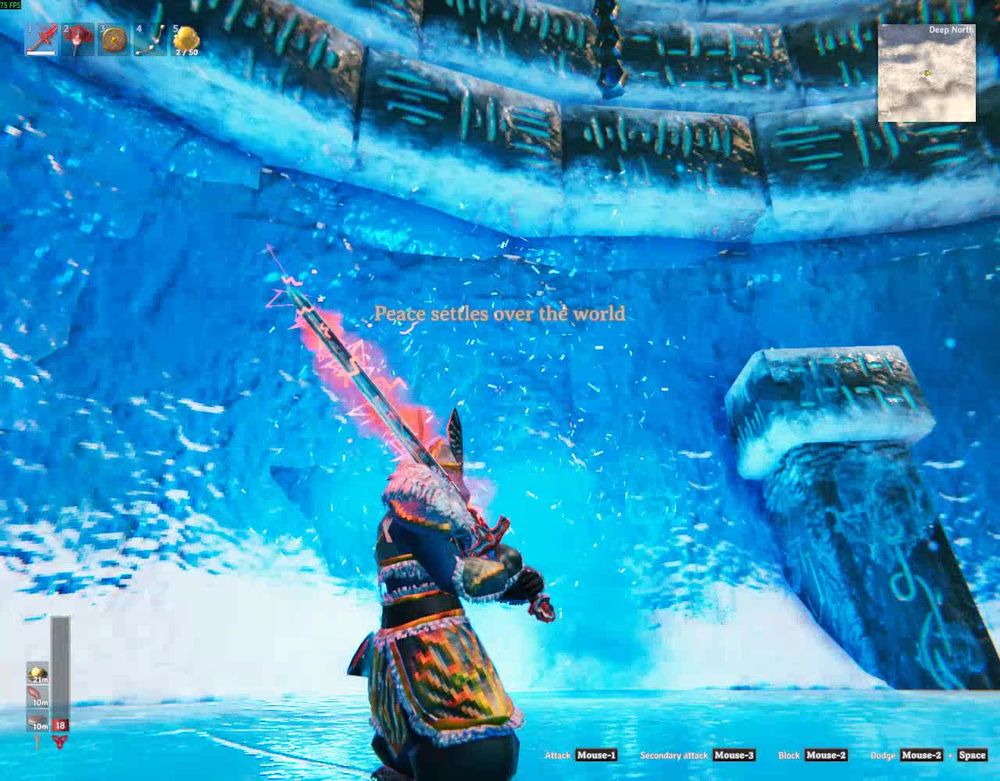
Once Kall is defeated, the message Peace settles over the world appears as the fight ends.
Kall drops one Sacrificial Blood and one Crown Jewel. Unlike the earlier Forsaken, Kall does not grant a Forsaken Power.
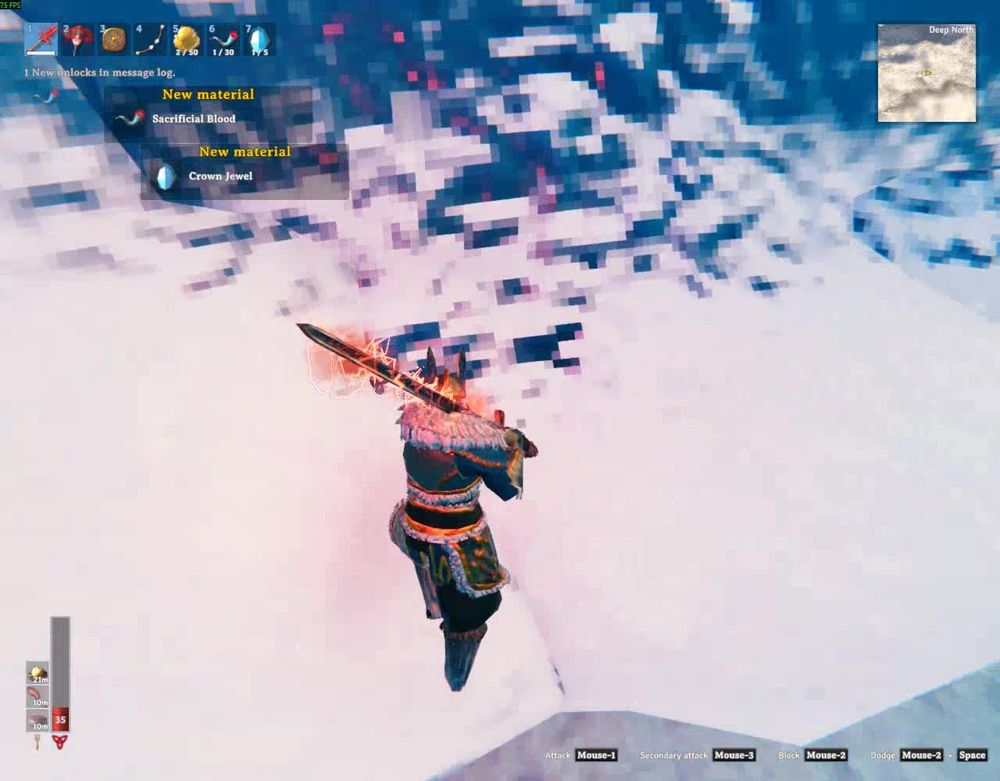
The Crown Jewel can be combined with 5 Bloodgold at a level 4 Black Forge to craft the Crown of Valheim, a helmet with 50 armor and a 5% movement speed bonus. The Sacrificial Blood is the final progression item. Take it back to the Sacrificial Stones in the Meadows and offer it there to complete Valheim's main progression and trigger the ending.
Final Thoughts
Kall Fimbulbringer is less about surviving one difficult attack and more about making it through a long fight that keeps changing the rules. Phase one teaches you his chain attacks, phase two makes you deal with the Forsaken all over again, and phase three brings the fight back with even more elemental pressure. Go in with fully repaired equipment, strong Slash or Blunt damage, and enough food and meads to stay prepared for a long encounter. If your armor makes it through the whole thing with durability left, consider that a bonus.
Once you have collected the Sacrificial Blood and Crown Jewel, the final boss is complete. Take the Sacrificial Blood back to where the journey began to finish the game.
Need Help?
If you have questions or run into any issues, our support team is here to help! Reach out using the support widget on our website or visit our support center for further assistance.