


How to Change the Spawn Location for a Project Zomboid Server

In this guide we are going to cover how you can change the spawn location for your Project Zomboid server. Changing the spawn location allows you to choose where new players start, making it easier for everyone to begin in the same area.
Changing the Spawn Location
Open your Dashboard.
Locate your Project Zomboid server and click on the Manage button.
Under Game Settings, click on Project Zomboid Settings.
Go to the Player tab.
Locate Custom Spawn Coordinates under the Spawn & Character Mechanics section.
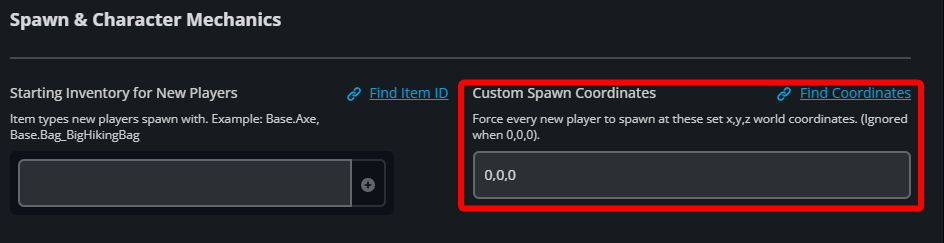
Click on Find Coordinates to open the map. Find your desired spawn location on the map and make note of its X and Y coordinates.
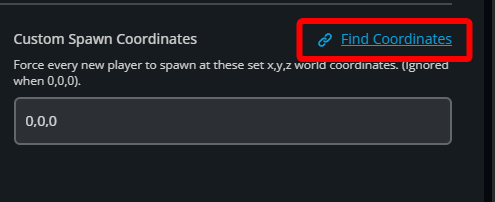
Return to your server panel and replace 0,0,0 in the text box with your coordinates in the format x,y,0. Replace x and y with the numbers you recorded, leaving the last number as 0 for ground level.
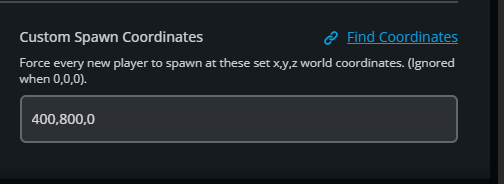
Once you have entered your coordinates, save your changes with the Submit button .
Start your server to apply the new spawn location.
Conclusion
You have now changed the spawn location for your Project Zomboid server. Players will begin at your chosen location, making it easier for your group or others to start together. You can change these coordinates again at any time if you want to use a different starting location.
Need Help?
If you have questions or run into any issues, our support team is here to help! Reach out using the support widget on our website or visit our support center for further assistance.